Cart
0


Whether you are rolling for yourself or setting up a small batch for friends, making a good pre-roll is part skill, part patience, and part knowing your materials. This guide walks you through every stage - from choosing the right flower and grinding it correctly, all the way to sealing and packaging the finished product. No jargon, no shortcuts. Just a clear, practical breakdown that works whether you are a first-timer or someone looking to level up their technique.
Just like any other rolled product, the journey to a great pre-roll starts with the raw material. The quality of your starting flower has a direct impact on everything that follows - how well it grinds, how evenly it burns, and how good it tastes in the end.
Before you even think about rolling, your flower needs to be properly dried and cured. This step is non-negotiable. Flower that has not been cured long enough will be too moist, which can lead to mold forming inside a sealed pre-roll. On the other hand, flower that has been over-dried will crumble into dust during grinding, ruining the texture and consistency of your final product.
Properly cured flower strikes a balance - it holds its structure, breaks apart cleanly during grinding, and retains higher terpene levels. Terpenes are the compounds responsible for the aroma and flavour of your roll. The better your cure, the more flavour comes through in every smoke.
The flower should feel slightly springy, not bone-dry or wet to the touch
It should break apart with a little pressure but not crumble completely
There should be a noticeable aroma - dull or odourless flower has lost most of its terpenes
Stems and large leaf fragments should be removed before grinding
Taking time at this stage saves you problems later. A pre-roll is only as good as what goes into it.
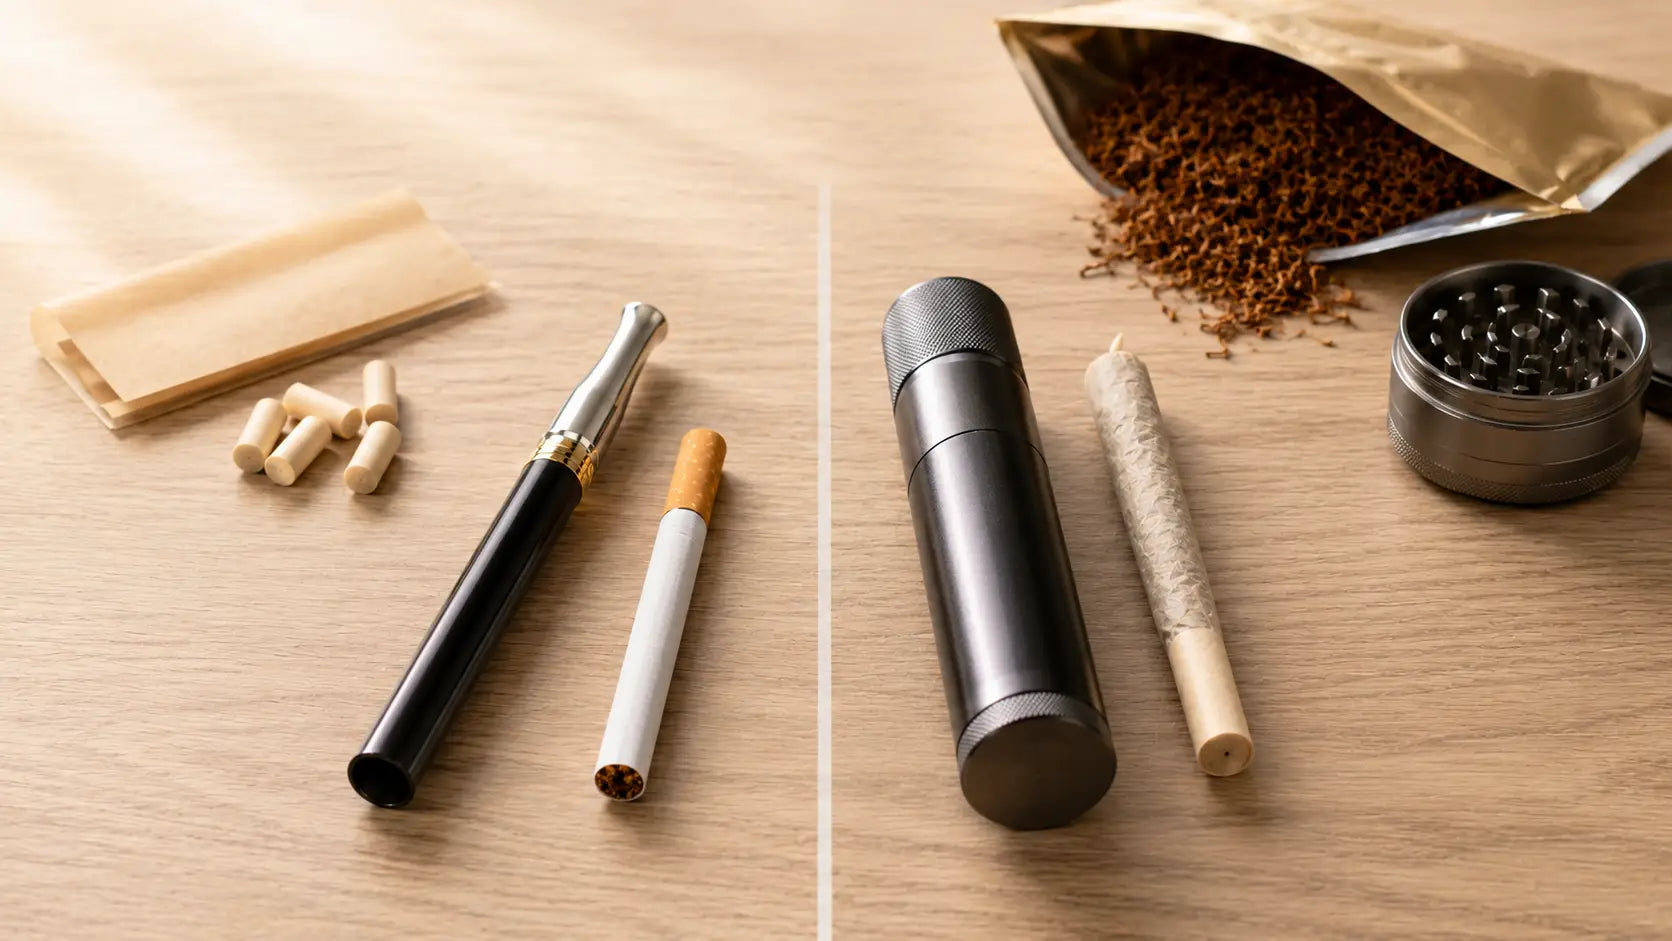
Grinding is where many people unknowingly damage their material. The goal of grinding is to break the flower into consistent, medium-sized particles that pack well, allow airflow, and burn evenly. What you do not want is dust.
Blenders, food processors, and high-speed grinders spin too fast. The friction and heat they generate can break down cannabinoids and terpenes before the flower ever reaches the paper. They also produce wildly uneven particle sizes - some chunks, lots of powder - which makes for an inconsistent burn and a loose, airy pre-roll.
Opt for a low-RPM grinder with high torque and built-in screens. These grinders move slowly and use pressure rather than speed to break the flower apart. The result is a consistent medium grind - not too fine, not too coarse - that packs evenly into a cone and burns at a steady, smooth pace.
For small batches at home, a good quality hand grinder with a kief catcher works well. For larger batches, a motorised low-speed grinder with an adjustable screen is the smarter investment.
Too fine (powder): Clogs airflow, burns too fast, tastes harsh
Too coarse (chunks): Packs unevenly, burns slowly and inconsistently, hard to seal
Just right (medium): Consistent texture, packs snugly, burns smooth and even
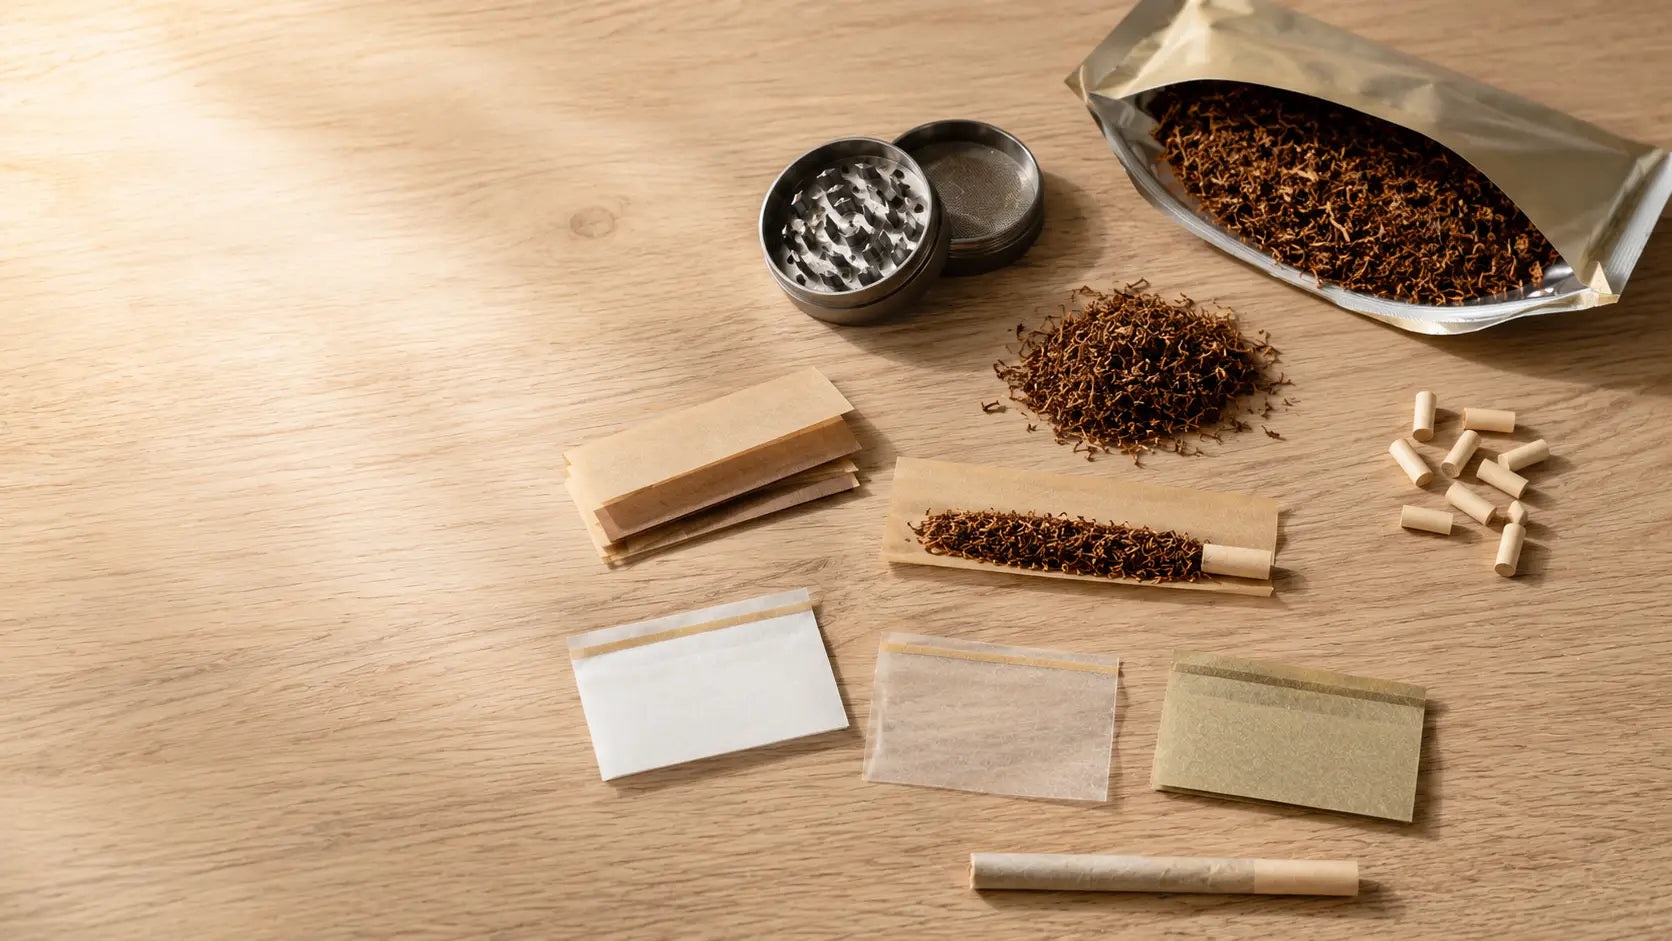
After grinding, sifting is the step that separates a mediocre pre-roll from a clean one. Sifting passes your ground material through a mesh screen that catches anything too large or too small to belong in the final roll.
Stems are the main culprit. Even after a good grind, small stem fragments can make it through. Inside a pre-roll, stems poke through the paper, create air pockets, and cause uneven burns. Sifting removes them cleanly.
Small dust particles are also filtered out at this stage. While kief (the fine, powdery trichomes that collect below the screen) looks harmless, too much of it mixed directly into the body of the roll can make it burn too hot and fast.
Running your material through a sifter multiple times will strip away too many trichomes, reducing potency and flavour. One good pass through the sifter is enough.
Do not throw it away. Collect the kief that falls through the sifter screen and mix a small, measured amount back into your sifted flower. This keeps potency consistent across your batch without concentrating it unevenly in one spot.
Two simple habits here will save you a lot of frustration on the production end.
Grinding and sifting generate a small amount of friction and movement, which can leave your material slightly warmer and stickier than ideal. If you try to fill cones immediately, the material clumps and does not flow well into the cone. Let it sit uncovered at room temperature for 15–30 minutes. This brief rest period normalises the moisture and makes filling significantly easier.
If your ground flower feels tacky or clumps together when you press it, it is slightly too moist for filling. Spread it on a clean tray and allow it to air-dry a little longer. If it feels brittle and crumbles at the slightest touch, it is too dry - a quick light misting or returning it to a humidity-controlled environment for a short period will help restore balance.
Getting moisture right at this stage directly impacts how tightly and evenly you can pack your cones.
Filling is where the actual pre-roll takes shape. Whether you are doing this by hand or using a filling machine, the principles are the same - fill evenly, pack firmly, and leave no dead spots.
Hold your pre-rolled cone upright with the filter tip pointing down. Using a small funnel or a rolled piece of card as a funnel, pour your ground material into the open end. Add a small amount at a time and use a thin packing tool (a chopstick or dedicated packer works well) to gently tamp the material down after each addition. Do not pack too hard - you want firm and consistent, not compressed to the point where airflow is blocked.
Tap the base of the cone lightly on a flat surface as you fill. This settles the material naturally and helps it distribute evenly without force.
If you are making pre-rolls in batches, a filling machine speeds things up considerably. These devices let you fill multiple cones at once using a vibration or gravity mechanism. Key things to get right when using a machine:
Ensure your grind size is consistent - machines are sensitive to particle irregularity
Do not overfill the hopper - too much material creates uneven distribution
Use metering trays for precise, compliant weights per cone
Smaller machines with multiple trays often outperform single large machines in throughput and consistency
A standard pre-roll cone takes between 0.5g and 1g of ground material. King-size cones can take up to 1.5g. Weigh your cones before and after filling during initial batches to dial in your target weight. Consistency matters - both for quality and for compliance if you are producing for others.
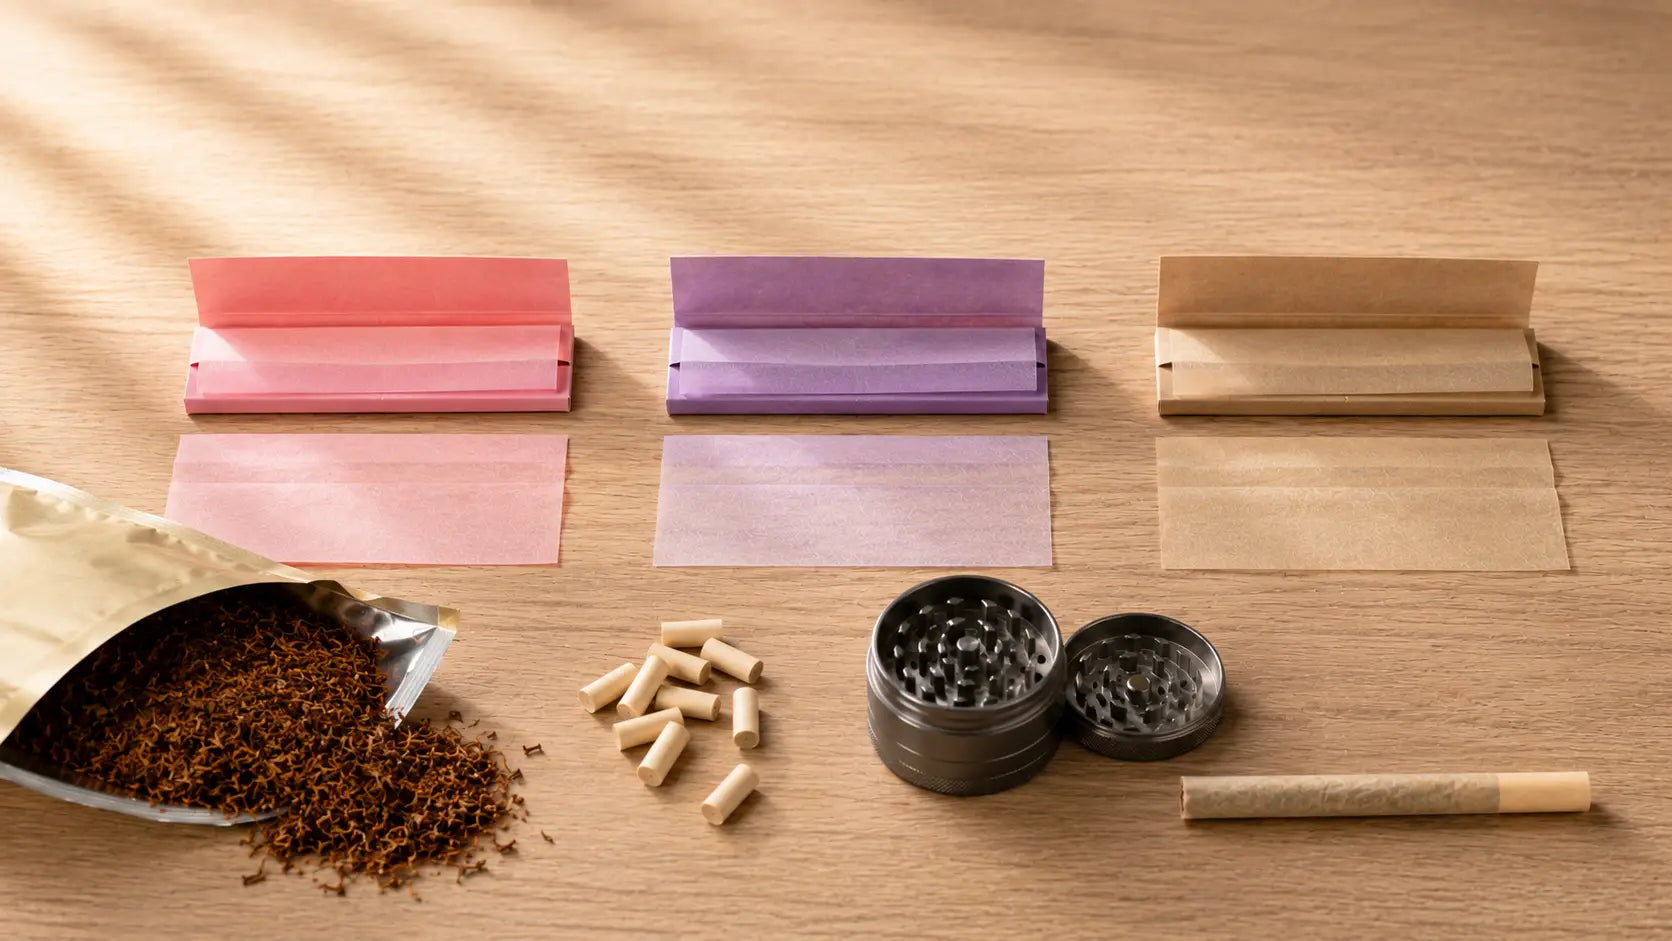
Sealing closes the open end of the cone and keeps the material secure. There are three main techniques, each with its own look and practical purpose.
The most common and simplest seal. Once the cone is filled, pinch the excess paper at the open end between your fingers and twist it clockwise until it closes into a tight spiral point. The twist is quick, secure, and gives pre-rolls their classic look. It works well for personal use and small batches.
A more decorative and premium-looking seal. After filling, fold the excess paper at the open end inward in a series of overlapping triangular folds, creating a crown-like pattern. The Dutch crown holds extremely well without the paper unravelling and gives the pre-roll a polished, craft appearance. It takes a little practice but becomes quick once the folding pattern becomes muscle memory.
For larger production runs, automated fill-and-fold machines handle both filling and sealing in one operation. The machine folds the tip of the cone inward with precision and consistency that is difficult to replicate by hand at scale. This method is ideal if you are making batches of 50 or more and need uniform results every time.
Infused pre-rolls take the standard product a step further by adding a concentrated ingredient - kief, oil, wax, or hash - to increase potency and enrich the flavour profile. They have become increasingly popular because they offer a noticeably different experience from a standard roll.
Kief coating: After rolling or filling, apply a thin layer of oil to the outside of the cone and roll it through loose kief. The kief adheres to the outer surface and burns with the paper
Interior infusion: Mix a small amount of concentrate directly into the ground flower before filling. This distributes the infusion evenly throughout the body of the roll
Core infusion: Insert a thin strip or bead of concentrate through the centre of the cone during packing. This creates a concentrated core that the flower burns around
Concentrates change the moisture balance of your flower, so infused pre-rolls often need a slightly shorter rest time before sealing. They also burn differently from standard rolls - typically slower and with more smoke. Always test a small batch first before committing to a larger infused run to make sure your ratios are right.
Hemp wraps offer a slightly different experience from standard paper cones - they are thicker, burn slower, and have a natural earthy flavour that many people enjoy alongside their material. However, they require a little more care in handling and storage.
Hemp-based wraps are sensitive to both temperature and moisture in a way that standard rolling papers are not. If stored in a dry environment, they become brittle and crack when you try to work with them. If stored in a humid environment, they can develop mould or stick together. The solution is simple - store hemp wraps in a sealed container with a small humidity pack, or in a proper humidor if you are storing large quantities. The ideal relative humidity for hemp wraps is between 62% and 68%.
Unlike pre-rolled paper cones which you simply fill, hemp wraps require you to either roll them manually around your material or use a wrap-compatible filling machine. Work quickly once the wrap is out of its packaging to avoid it drying out. If the wrap feels slightly stiff, run a small amount of moisture along the edge with a damp fingertip before sealing.
If you are making pre-rolls regularly or in any meaningful volume, the right tools make the process dramatically more consistent and less time-consuming.
Metering trays sit beneath your filling setup and measure the exact amount of material dispensed into each cone. They are the single most important accessory for anyone who needs consistent fill weights - whether for personal consistency or for compliance purposes. Without a metering tray, fill weights vary from cone to cone, which affects both the experience and the accuracy of what you are producing.
WIP trays hold filled cones upright while you work through a batch. They prevent cones from tipping over, spilling material, or getting crushed. If you are filling 20 or more cones at a time, a WIP tray keeps your workspace organised and your cones undamaged.
For consistent large-scale production, automated machines offer real advantages. They maintain uniform fill weights, remove most of the manual labour from the process, and often include data export features that let you track output and quality over time.
The trade-offs are worth knowing: automated machines are expensive to set up, require regular maintenance, and are sensitive to flower quality. If your material is too sticky, too moist, or too variable in particle size, automated machines will jam or produce inconsistent results. The machine works best when your upstream process - drying, grinding, sifting - is already dialled in.
One common myth worth clearing up: a larger machine does not automatically mean more production. Smaller machines with multiple trays often achieve better throughput than a single large unit because they avoid the bottlenecks that occur when one part of a large machine slows down.
A great pre-roll deserves packaging that protects it and reflects the quality inside. Packaging is also the first physical thing a recipient sees, so it carries more weight than people often give it credit for.
Before any pre-roll goes into packaging, run through a quick visual and physical check:
Weigh the finished pre-roll to confirm it meets your target fill weight
Check that the seal is tight and there are no loose or unravelling ends
Inspect the cone for any visible damage, tears, or deformities
Look for any stems poking through the paper - these need to be caught before packaging
Gently squeeze the cone - it should feel firm and evenly packed, not soft and hollow in spots
Packaging for pre-rolls comes in a wide range of formats depending on what you are going for. Here is a quick breakdown of the main options:
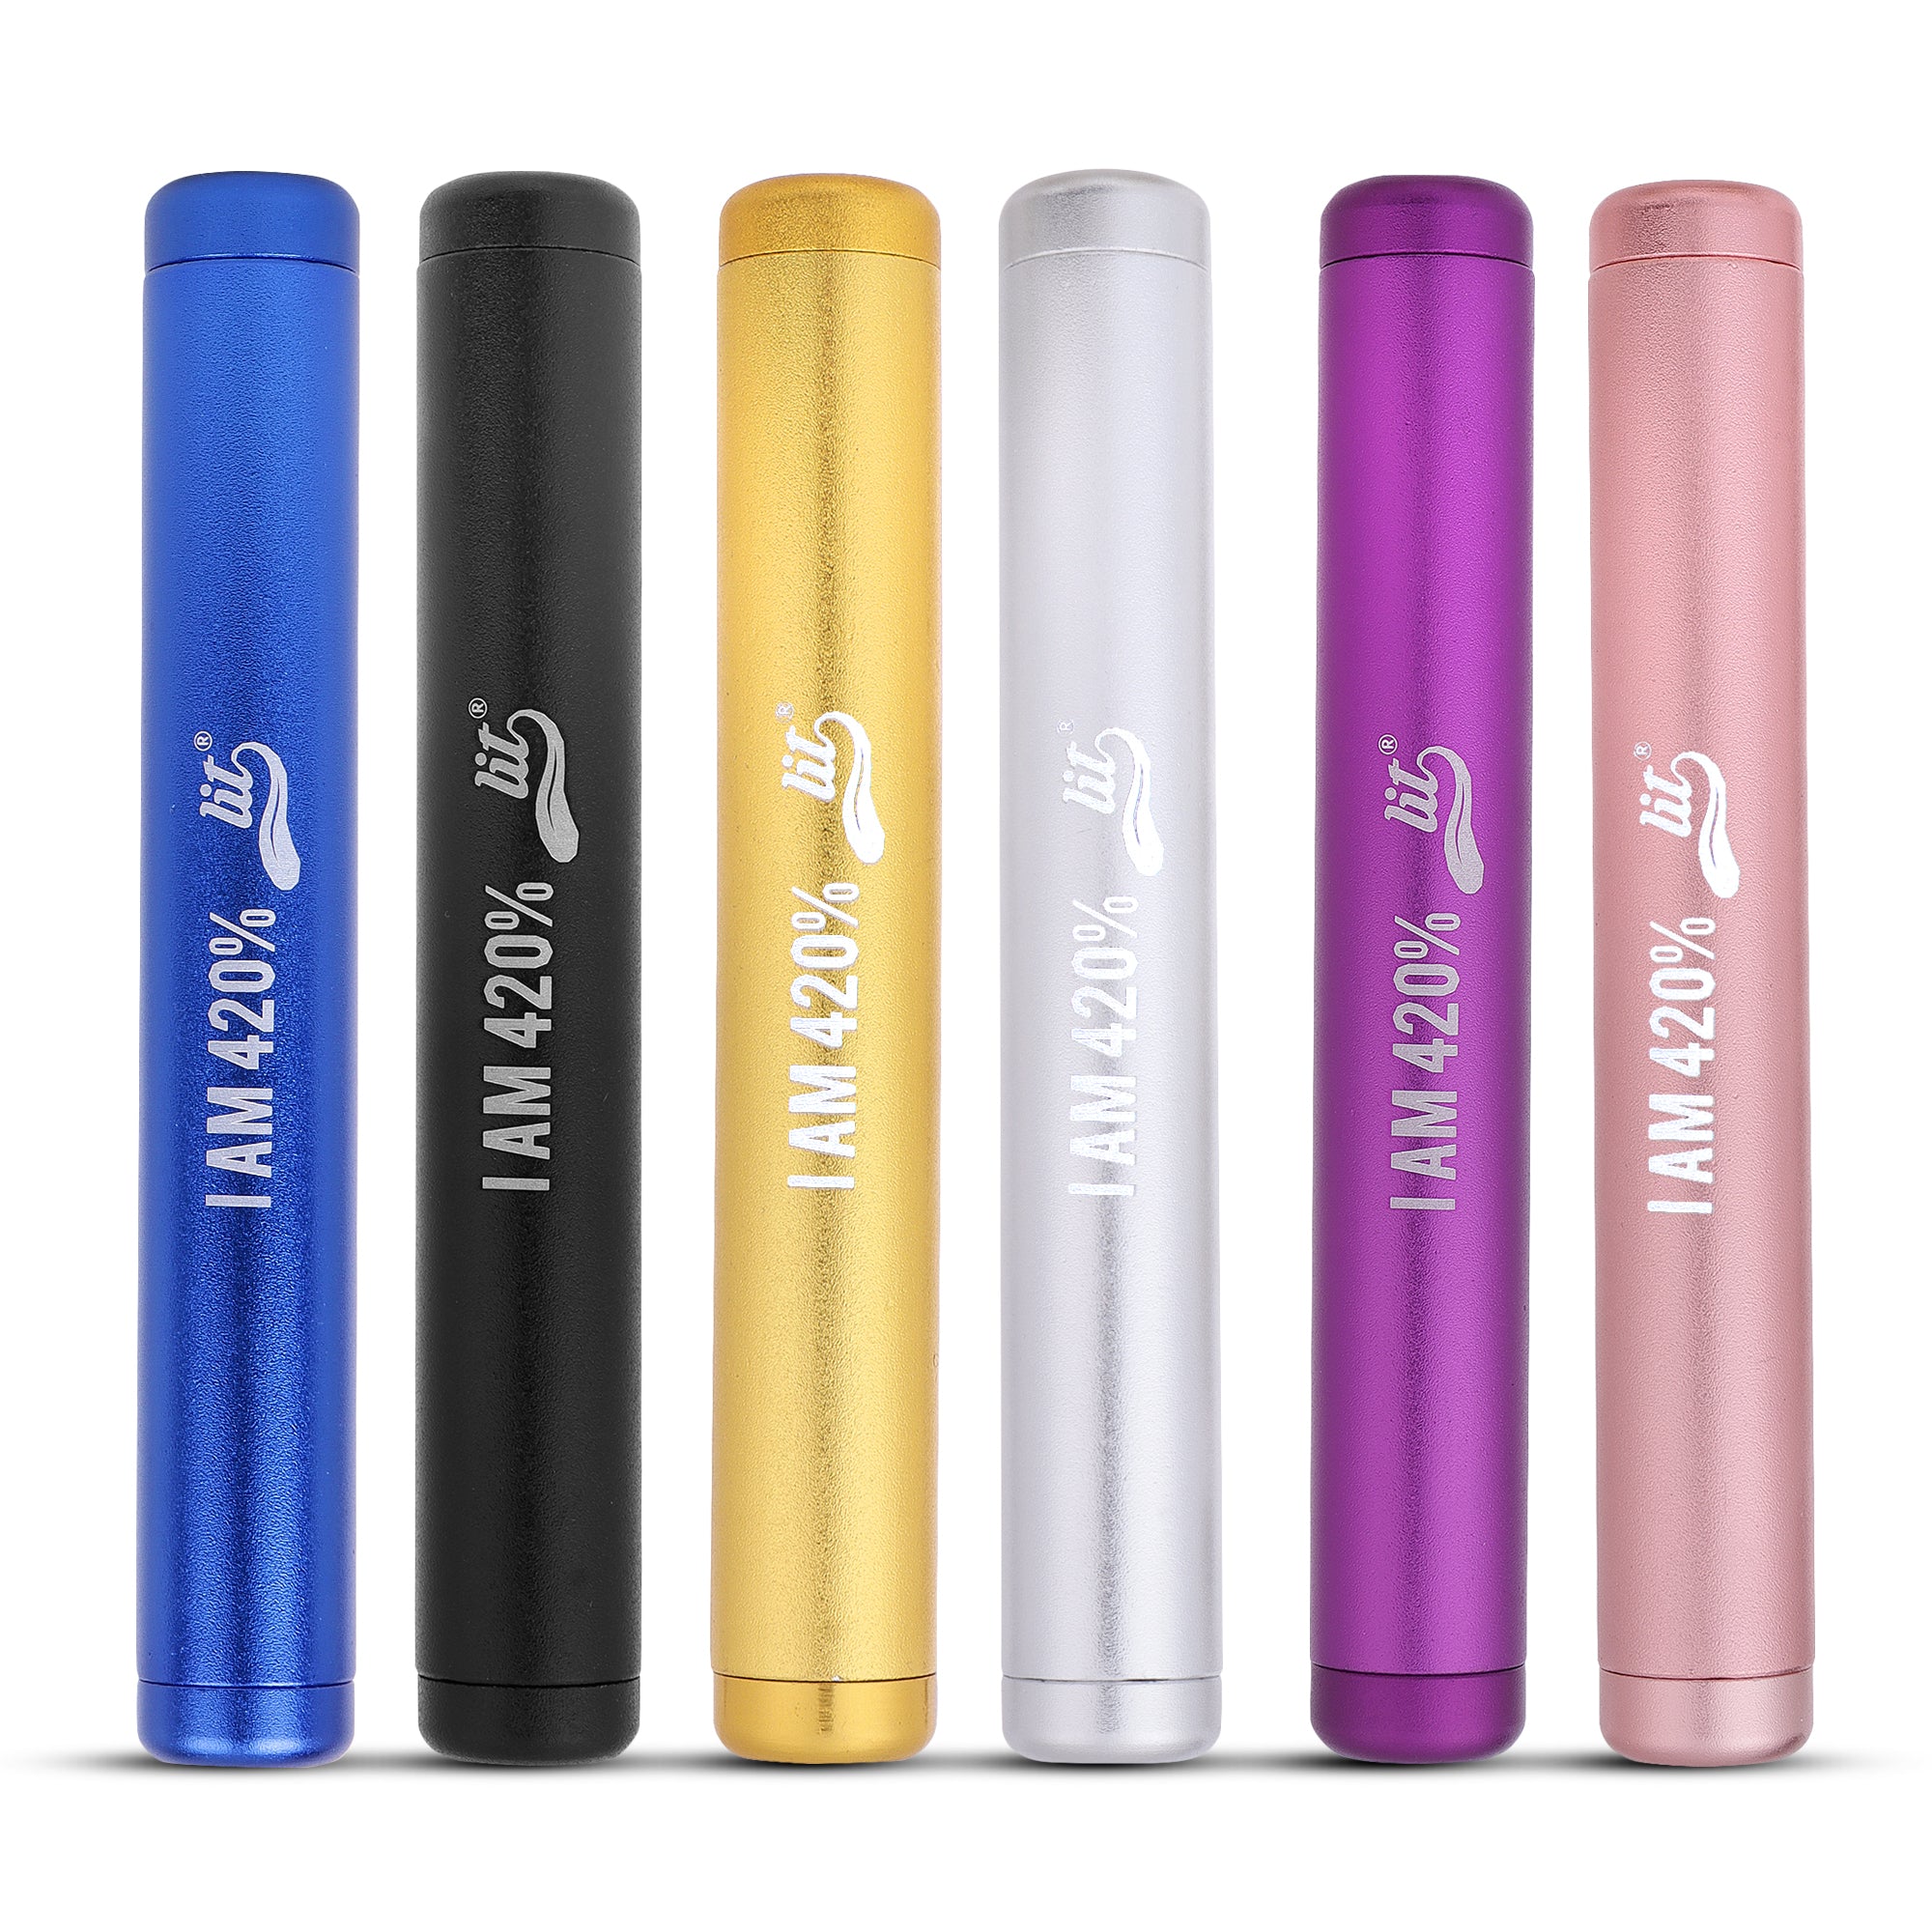
Doob tubes: Simple, lightweight, single-cone tubes. Good for everyday use and gifting
Child-resistant containers: Required for commercial distribution in regulated markets. Come in single, three-pack, and multi-pack configurations
Glass tubes: Premium feel, reusable, and excellent for preserving freshness. Popular for infused or artisan pre-rolls
Mylar pouches: Airtight and moisture-resistant. Good for multi-packs and branded retail packaging
Eco-friendly packaging: Paper-based or biodegradable options for brands focused on sustainability
Whatever format you choose, your packaging should communicate clearly - what is inside, how much, and who made it. Simple, clean labelling with your brand name and key details builds trust and recognition over time. You do not need to over-design. Clarity and consistency across your packaging range goes further than elaborate graphics on a low-quality material.
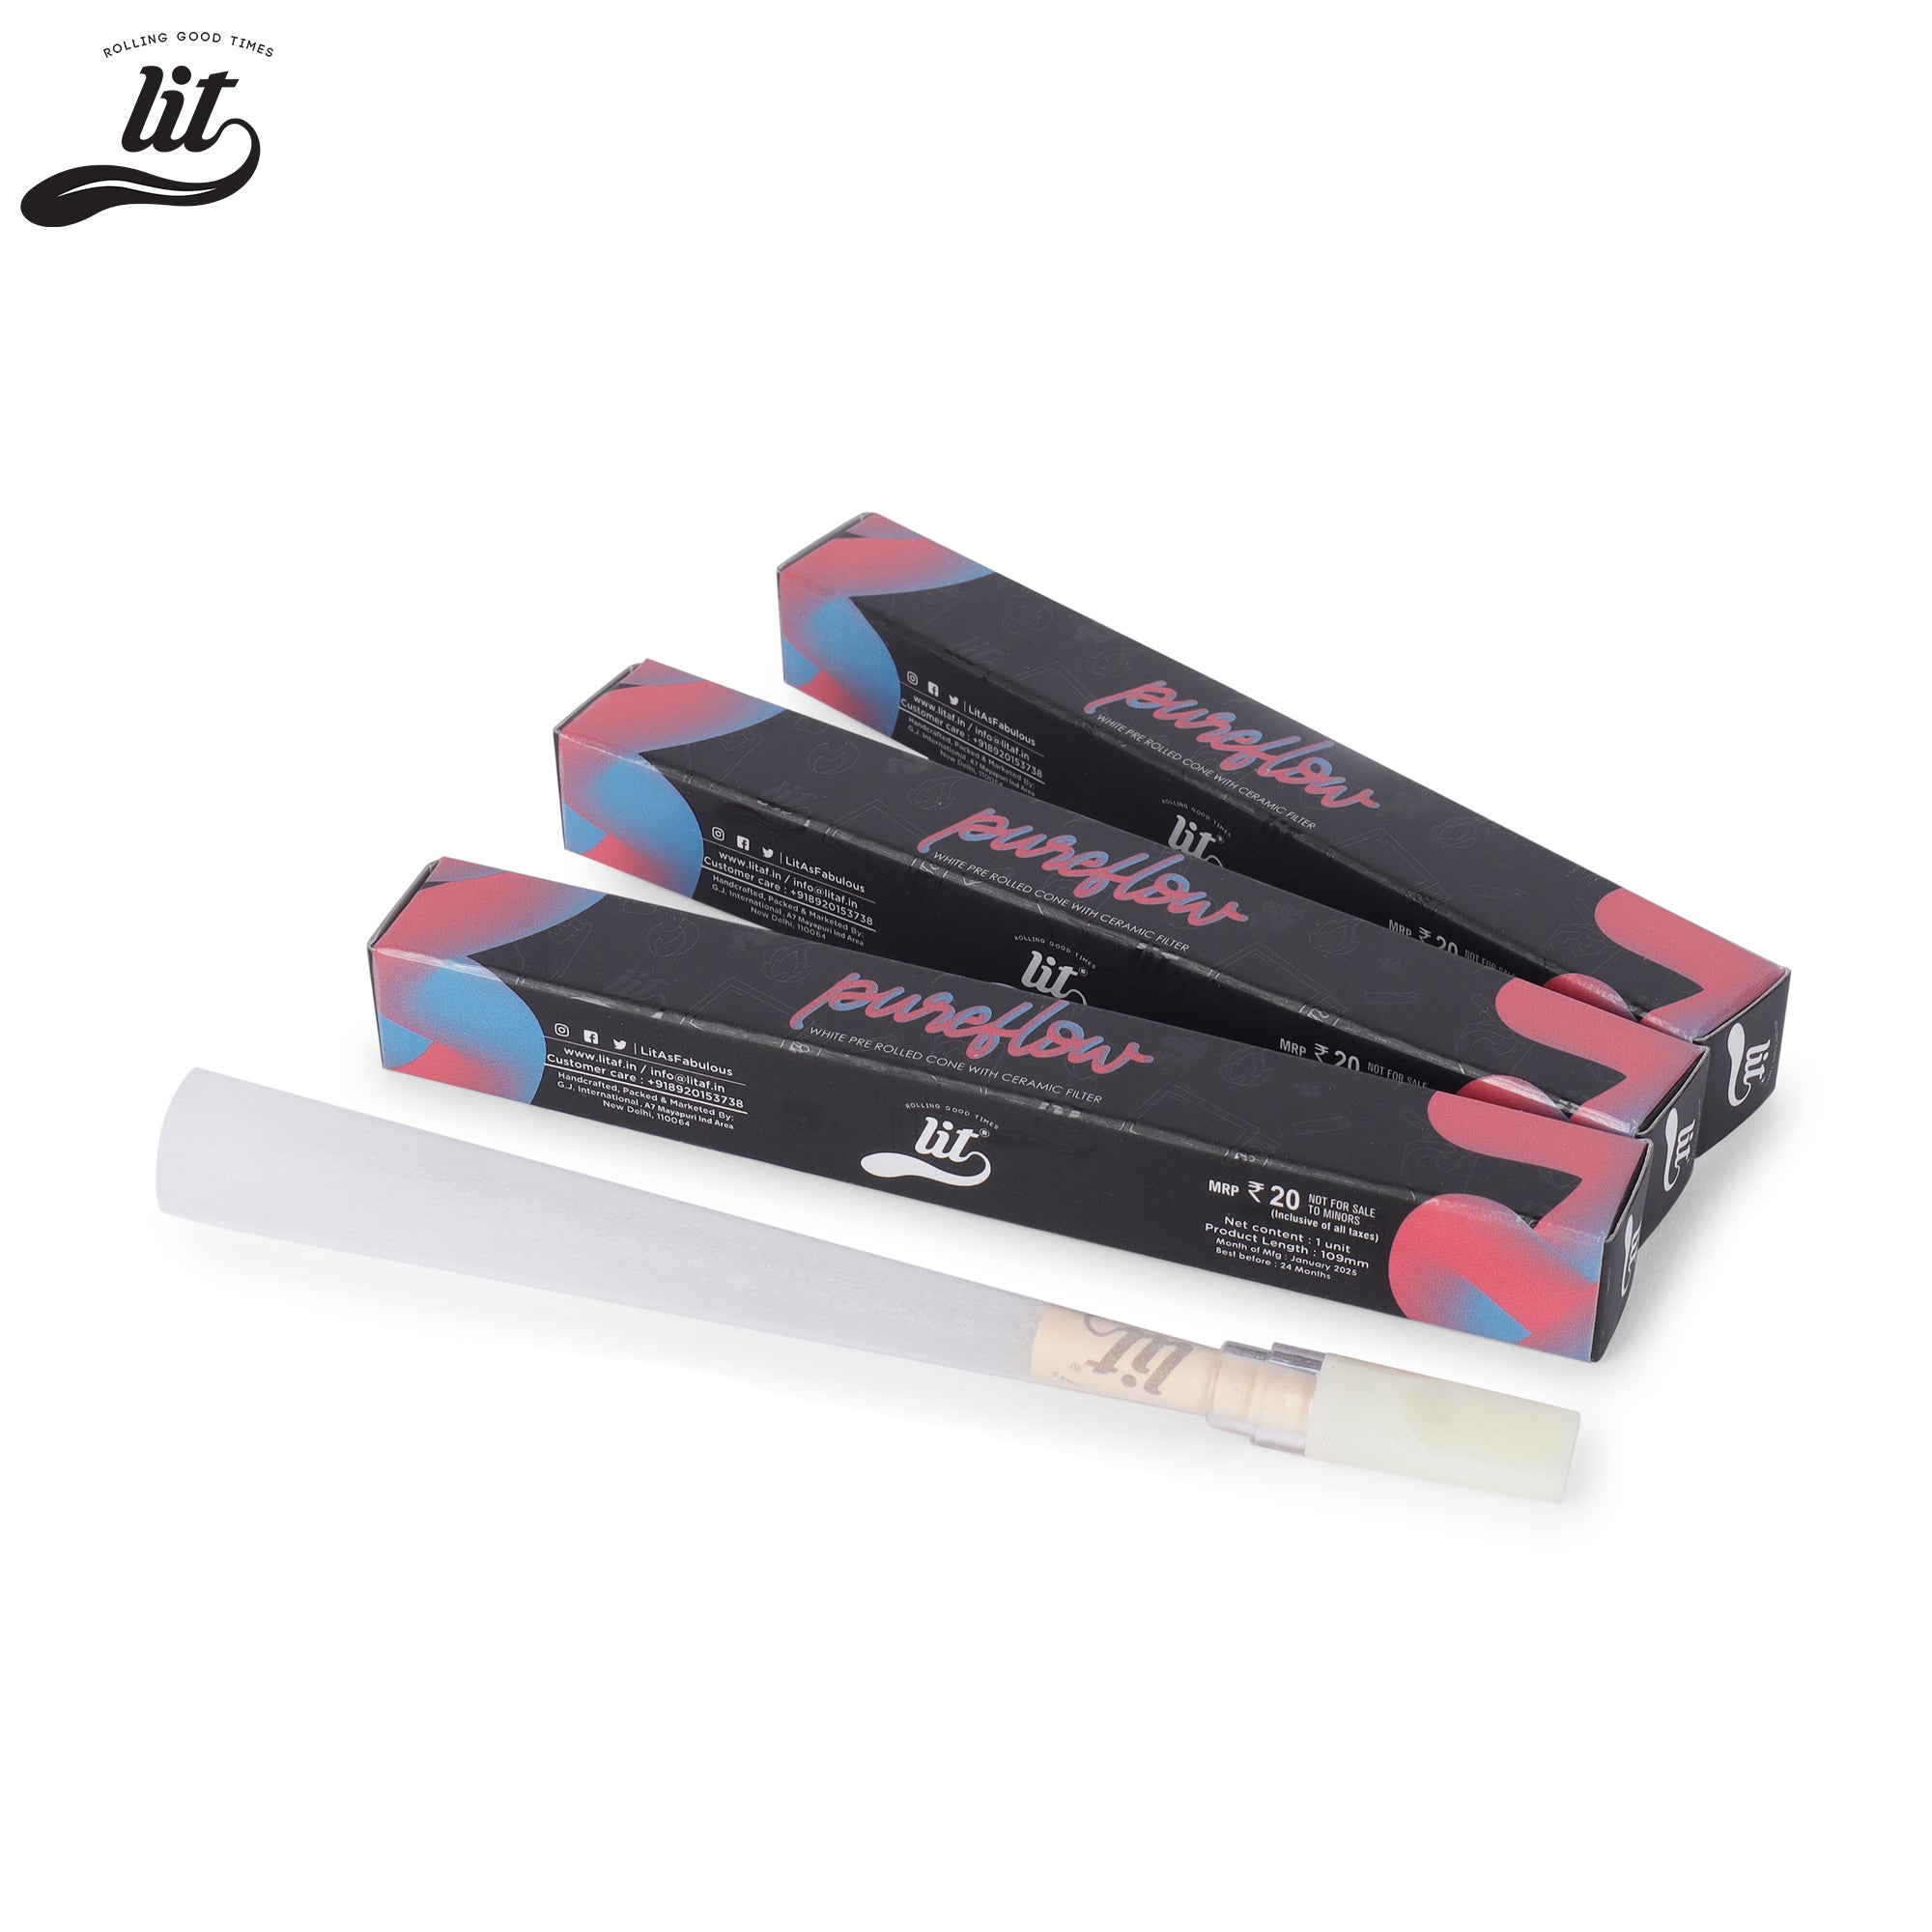
At LIT Rolling Papers, we offer a range of pre-rolled cones and rolling papers that are designed to make this entire process easier - from the first fill to the final seal. Whether you are rolling one for yourself or a whole batch for a session, the right paper makes a difference. Browse our pre-rolled cone collection here.
A standard single pre-roll typically contains between 0.5g and 1g of ground flower. King-size pre-rolls can hold up to 1.5g or more depending on the cone size used. Weighing your fills during the first few batches helps you dial in the right amount for your preferred cone.
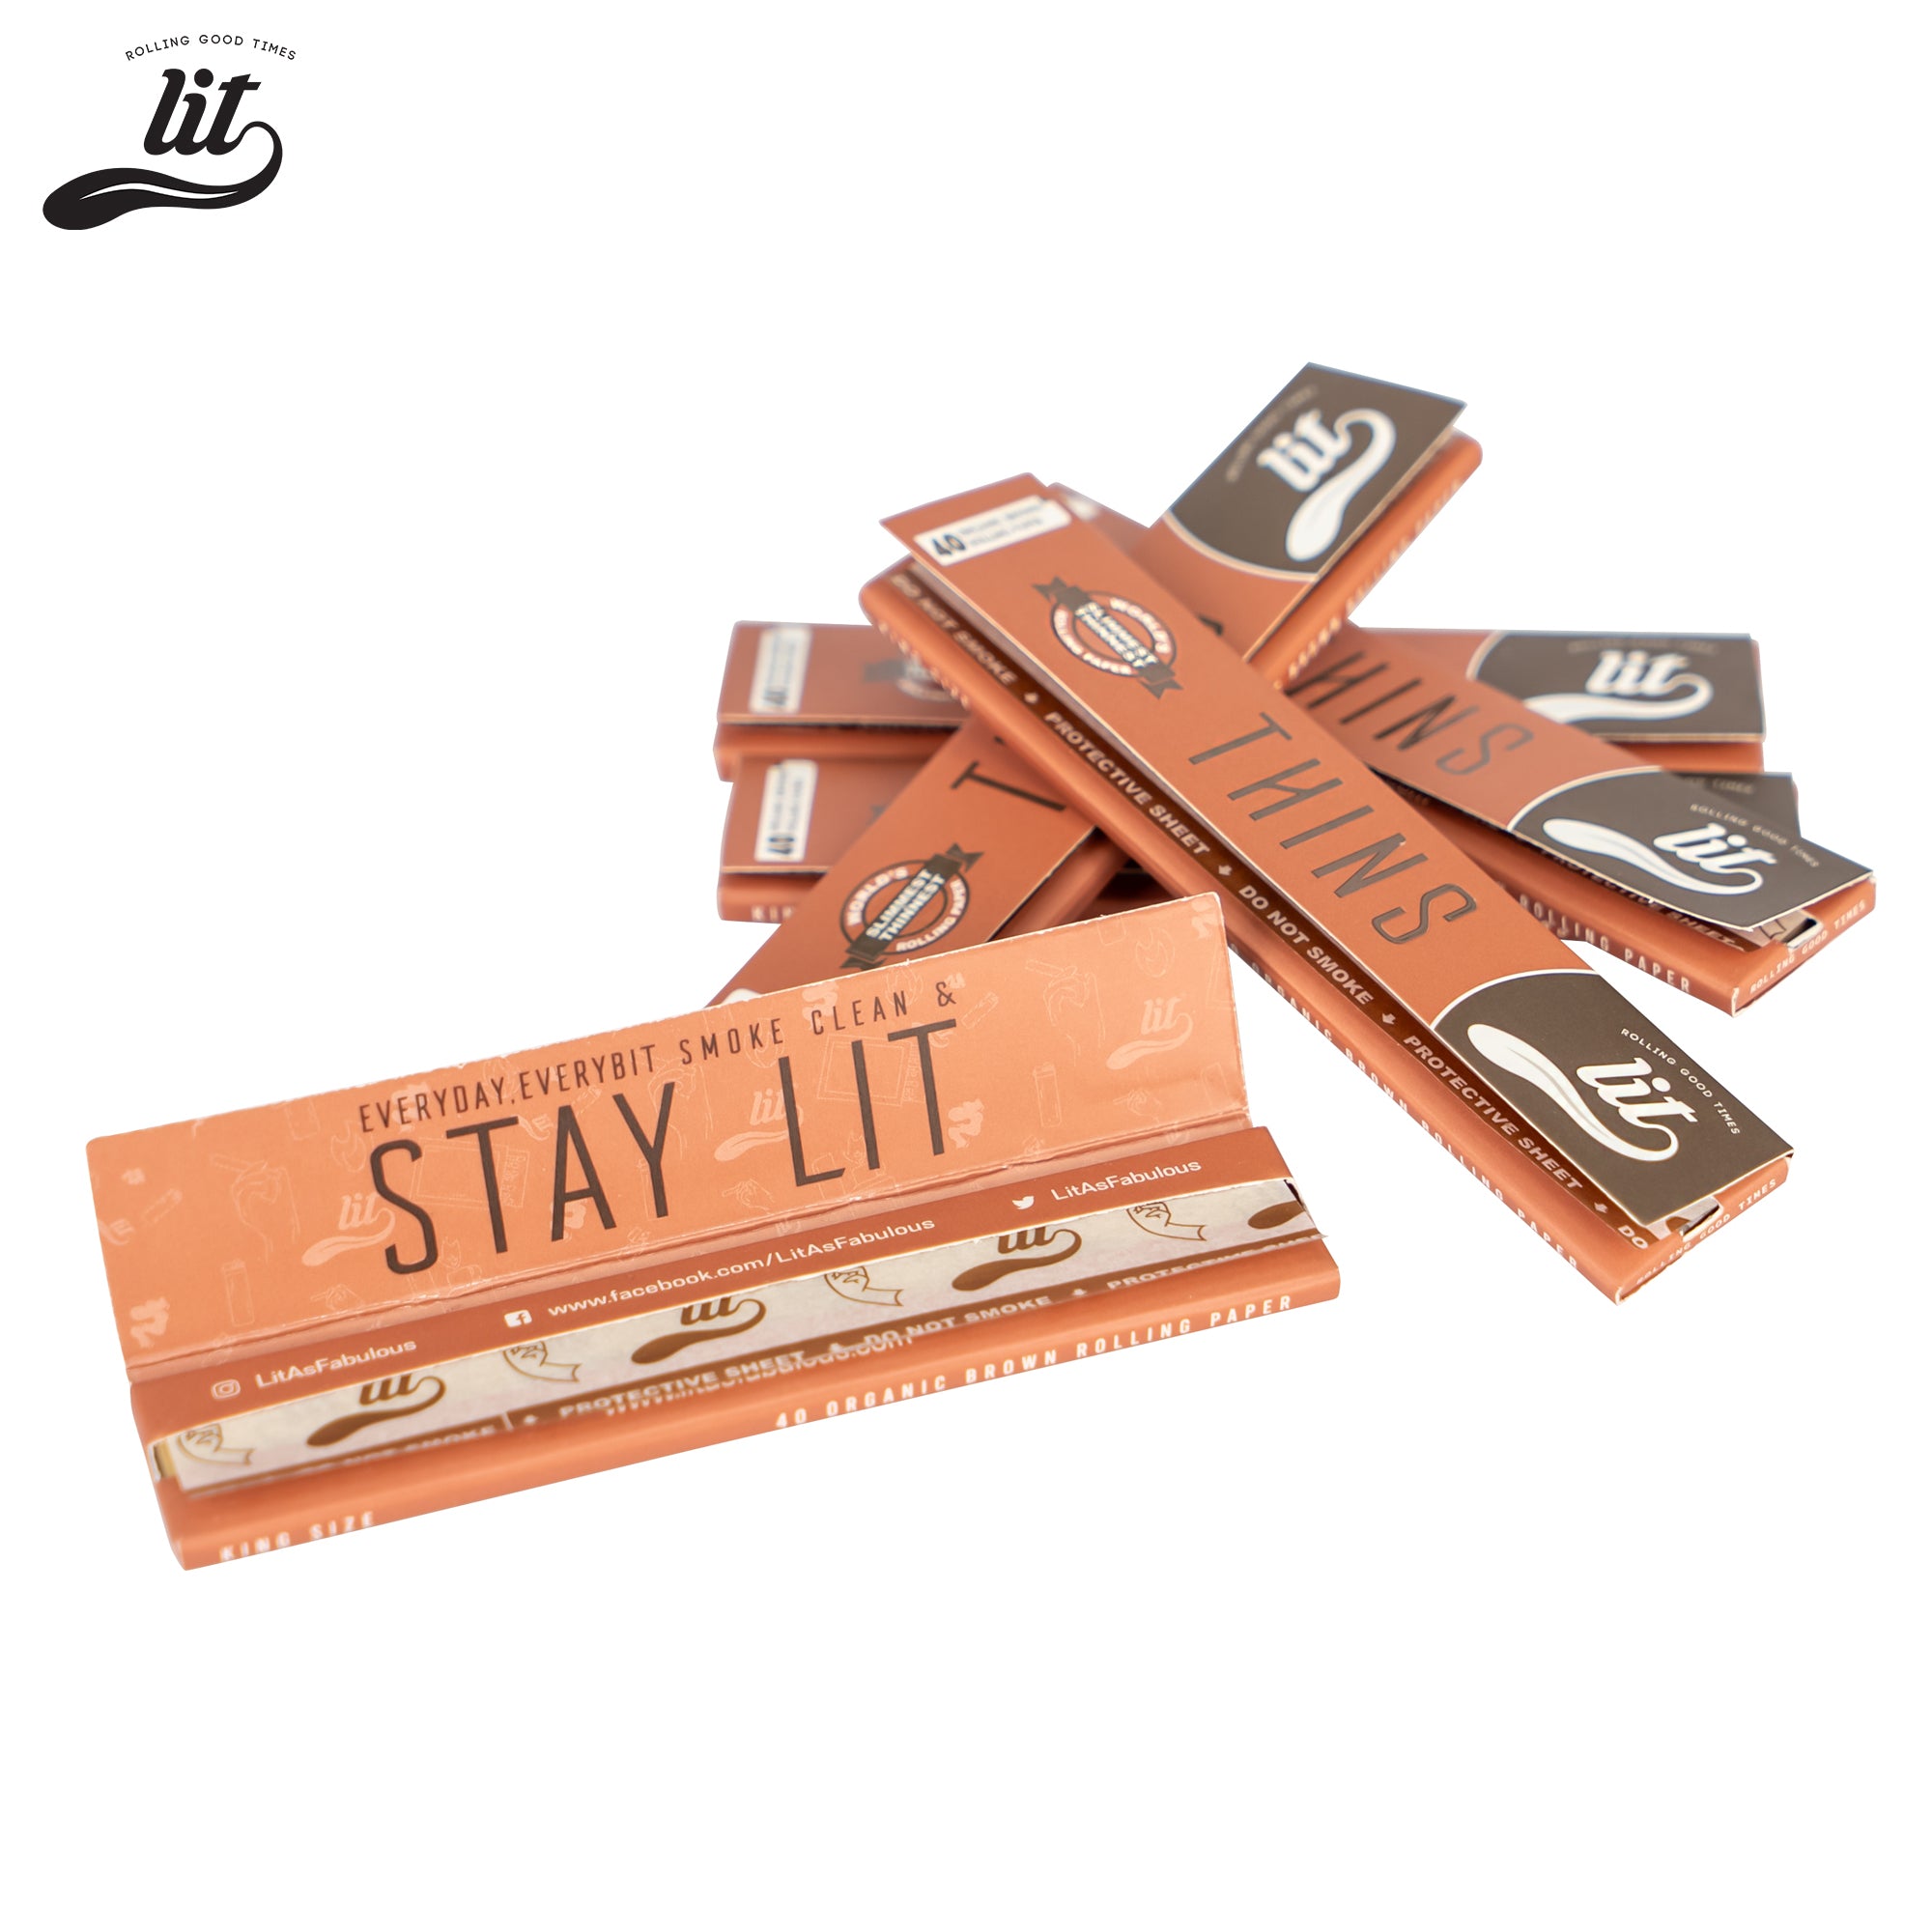
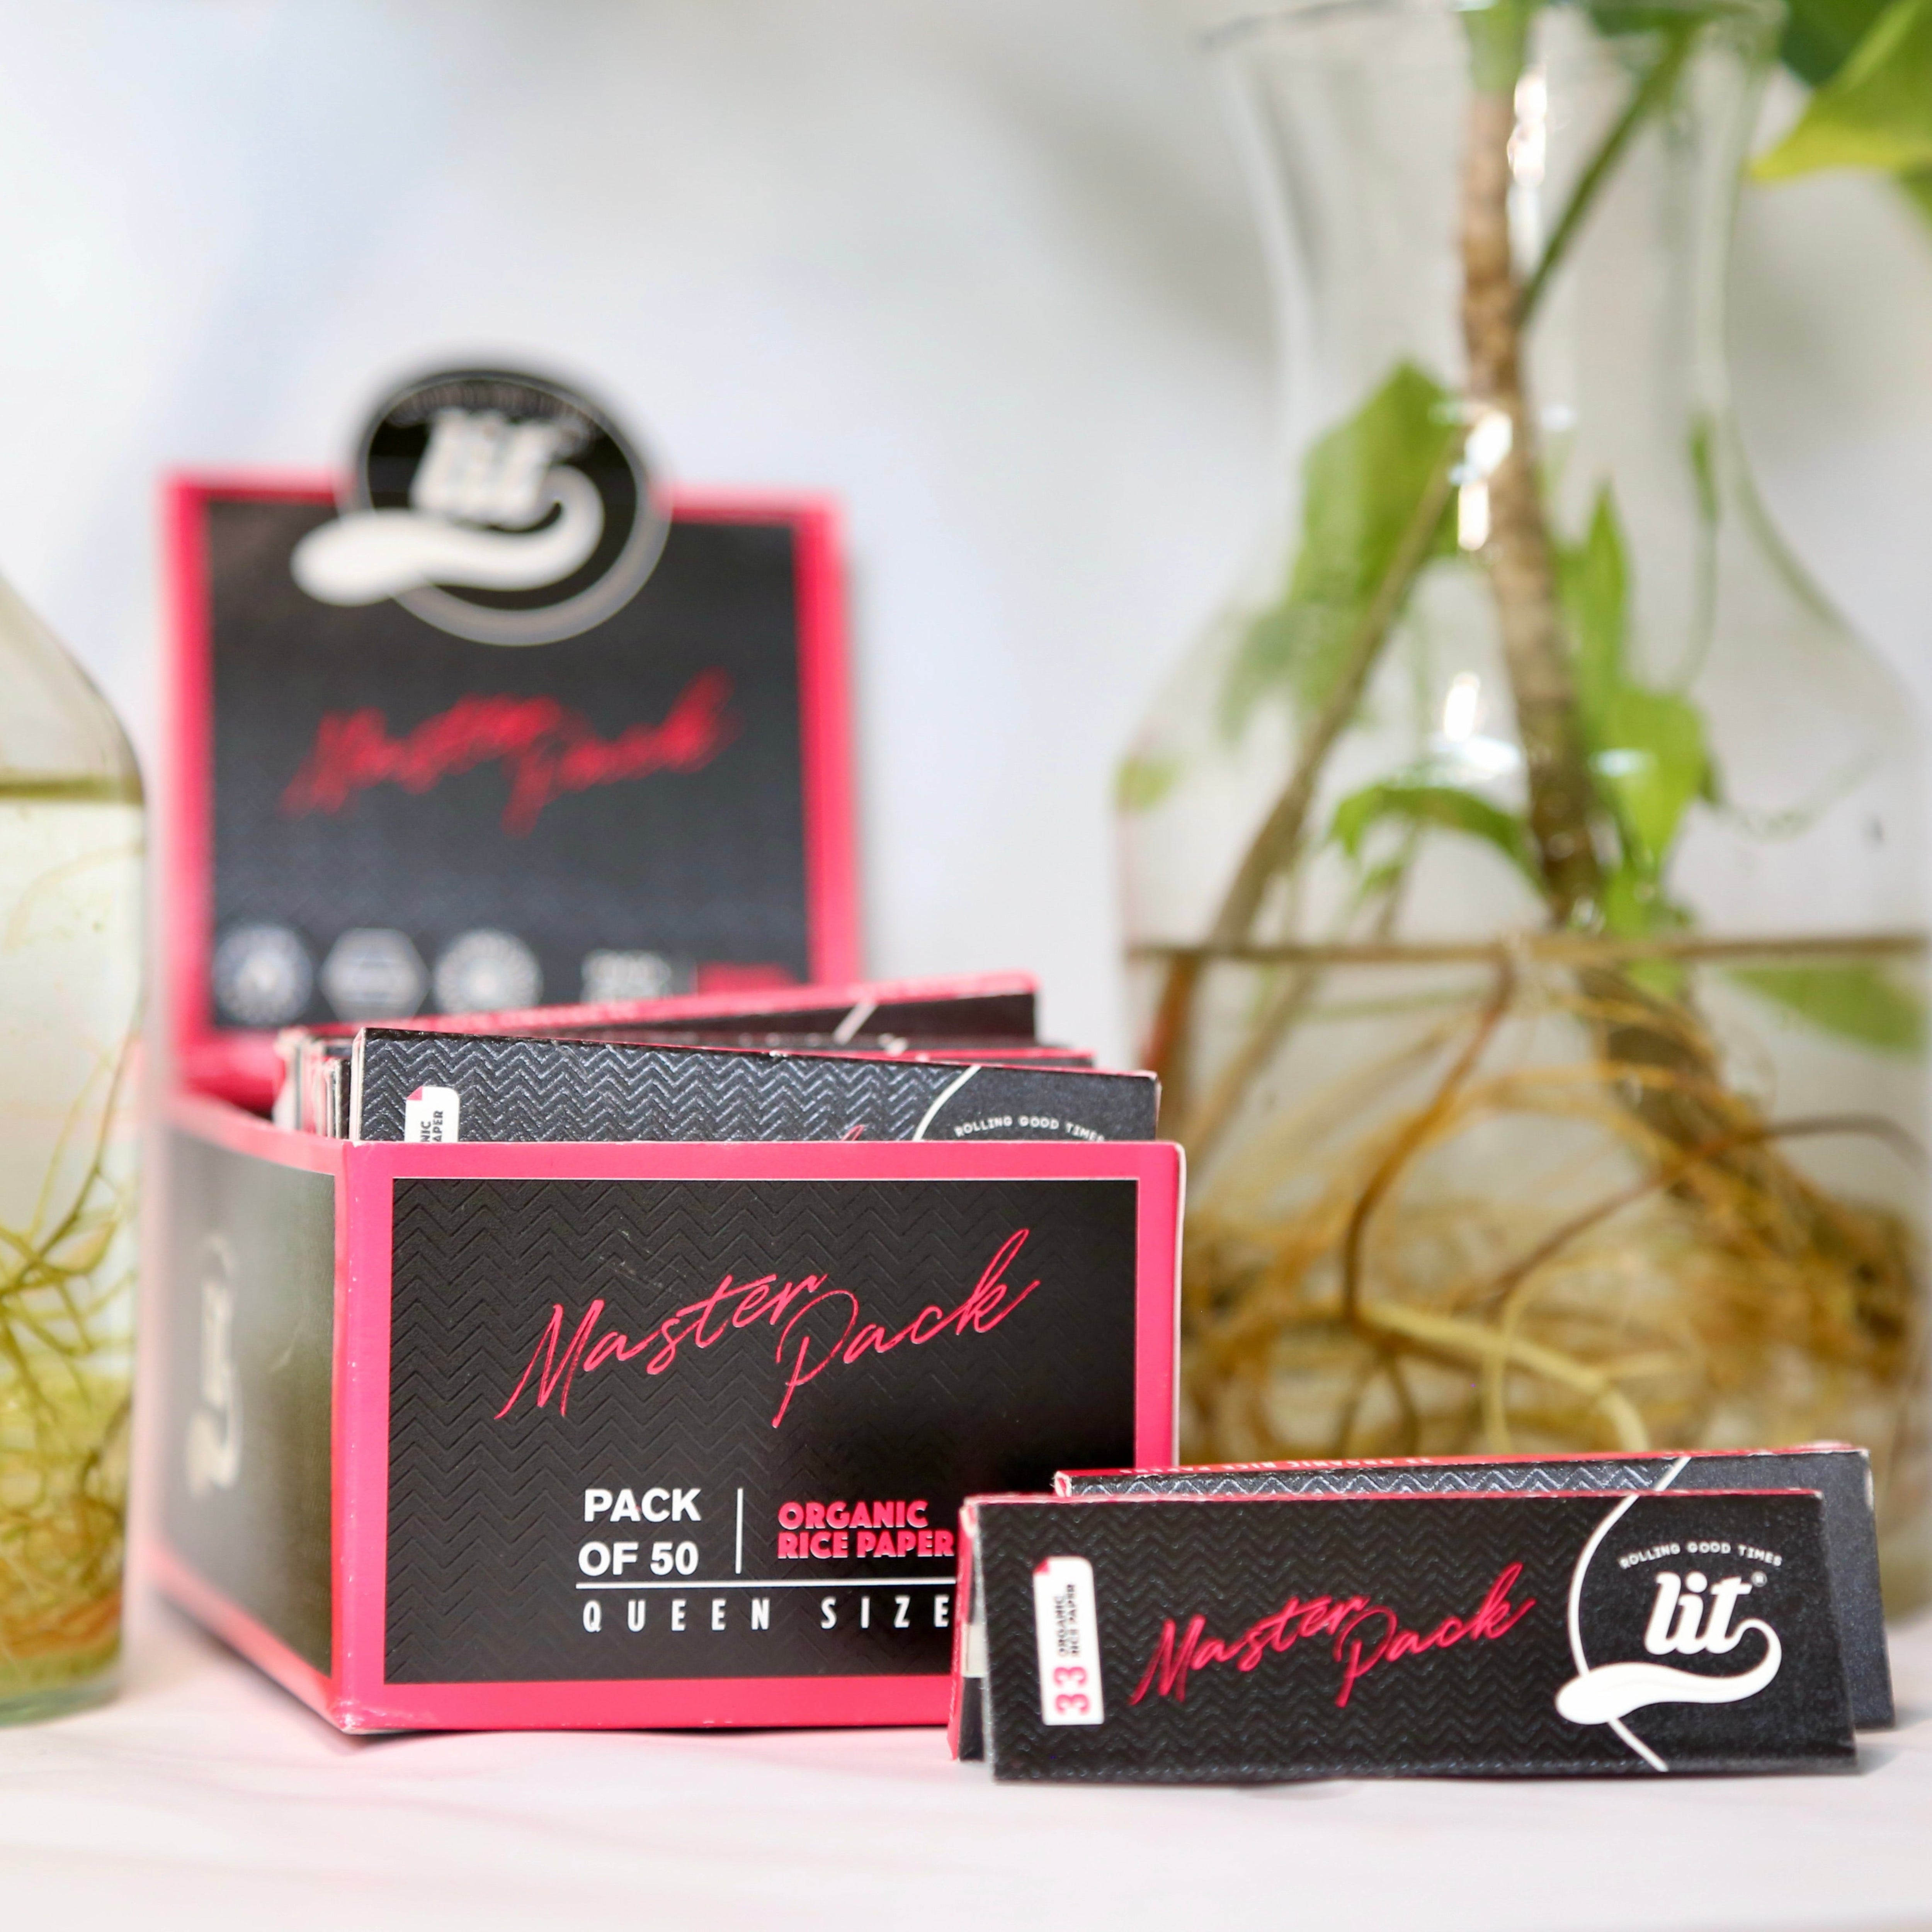
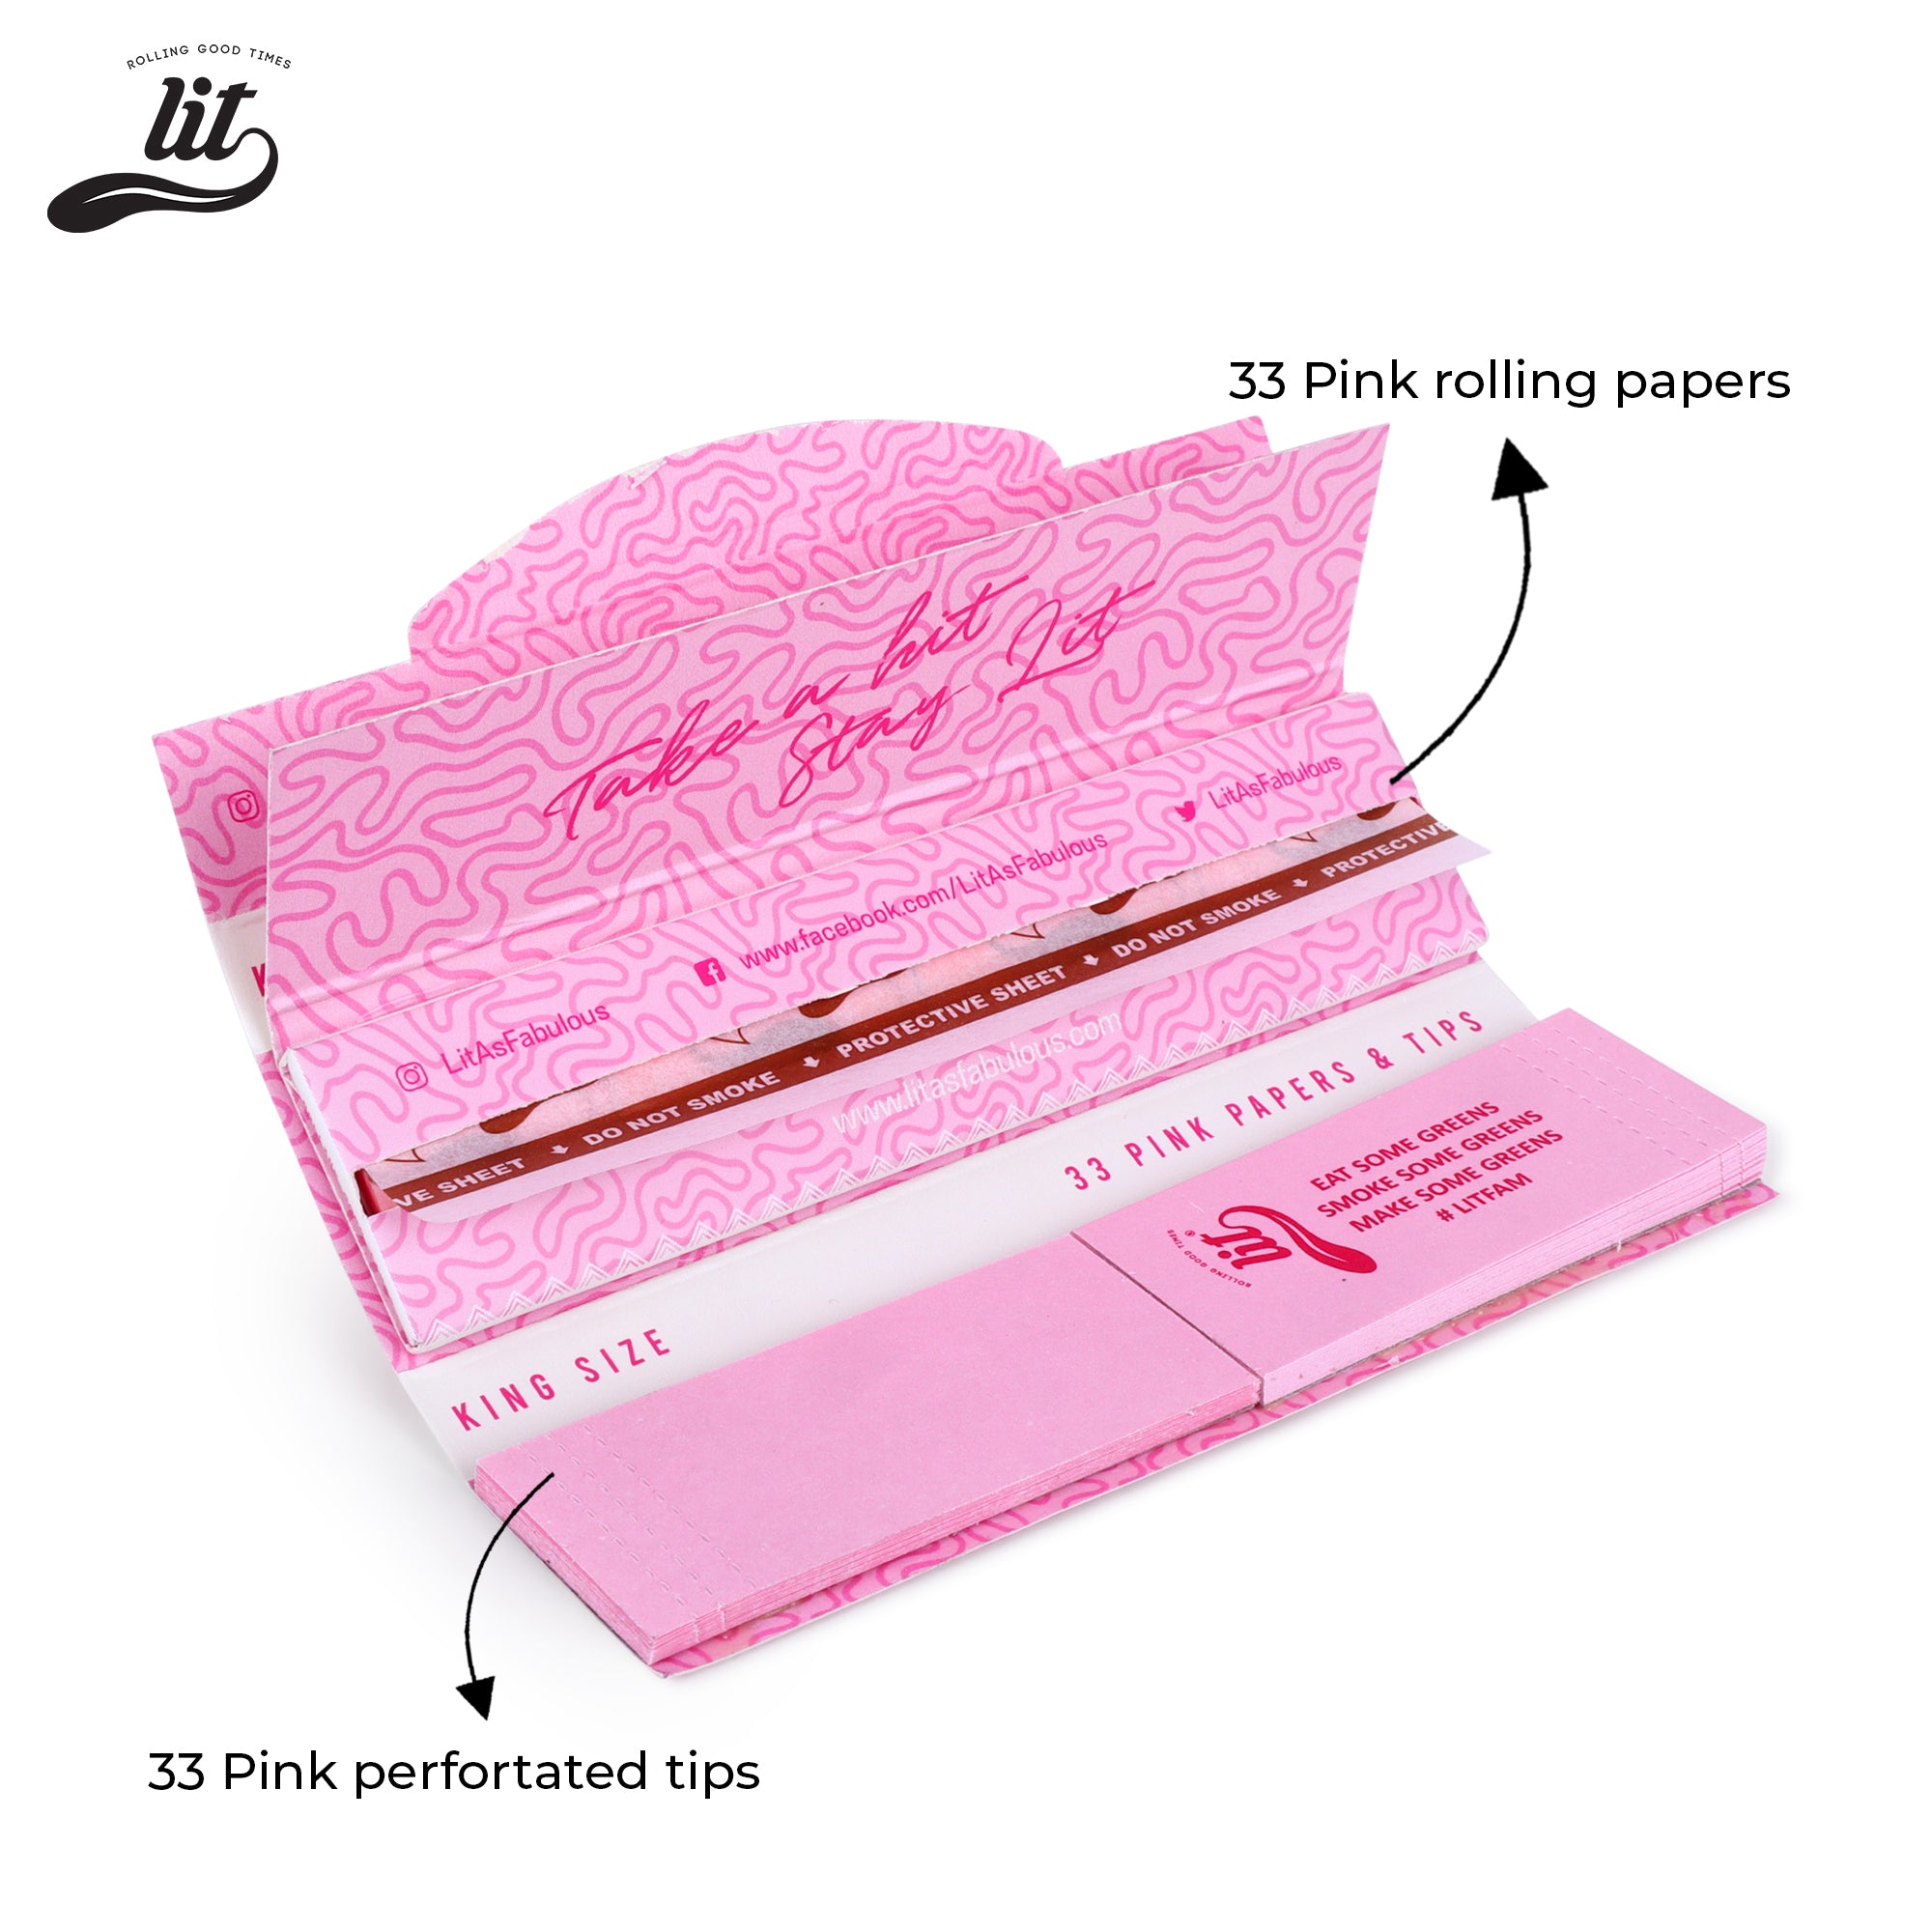
Thin, slow-burning papers made from natural fibres like rice or hemp perform best for pre-rolls. They burn evenly, produce less ash, and do not overpower the natural flavour of your material. Bleached papers burn slightly faster and can add a faint chemical aftertaste - unbleached papers are generally the cleaner choice.
Absolutely. Pre-rolls can be made entirely by hand using a pre-rolled cone, a small funnel or rolled card, and your ground material. A packing tool helps ensure an even, airtight fill. Hand-rolling is slower, but perfectly effective for personal use or small batches.
Uneven burns are most commonly caused by inconsistent grind size, poor packing density, or material that is too dry or too moist. Using a low-RPM grinder for a consistent particle size and making sure your flower is properly cured solves most burn issues. Also check that there are no air pockets in your pack - these create weak spots where the burn accelerates.
A pre-rolled cone is a ready-made paper cone with a filter tip (crutch) already attached at the base. Instead of rolling the paper yourself, you simply fill the open end with your ground material, pack it down, and twist or fold the tip to seal it. Pre-rolled cones are ideal for beginners and for anyone who wants consistent results without needing to master the rolling technique.
Making a great pre-roll comes down to respecting each step of the process. Start with properly cured flower. Grind it slowly and evenly. Sift out what does not belong. Let it rest. Fill firmly and consistently. Seal it cleanly. Package it well.