Cart
0


You open your grinder, try to twist - and it barely moves. The teeth are gunked up, the screen is clogged, and everything smells like a week-old session. Sound familiar? If you live in India, especially during the summer months, you already know that the heat speeds everything up - including resin build-up inside your grinder.
The good news is that cleaning your herb grinder is one of those things that sounds like a chore but actually takes less than 20 minutes once you know the right method. And the difference it makes - to your grind quality, your session flavour, and the lifespan of your grinder - is massive.
At LIT, we've been building premium herb grinders for the Indian market for a while now. Our customers ask us this question all the time, so we put together the definitive, no-nonsense guide to cleaning your grinder the right way. Whether you've got a basic 2-piece or a multi-chamber setup like the LIT Vault Grinder™, this method works.
Most people only clean their grinder when it stops working properly - but by that point, it's been affecting your experience for weeks. Here's what a dirty grinder is actually doing to you:
Uneven grind: Resin-coated teeth can't grip herbs properly, so you get big chunks mixed with powder. That means an uneven burn on your joint or cone.
Off flavours: Old, oxidised residue inside the grinder mixes with fresh herb. Even the best rolling paper can't mask a stale grind.
Clogged screen: On 4-piece grinders, the mesh screen separates fine material from coarser grinds. Once it's blocked, nothing passes through - you lose that separation completely.
Mechanical wear: Forcing a stiff grinder causes the threads to wear down faster, especially on aluminium bodies. Clean it regularly and it lasts years.
Hygiene: A grinder that's been sitting dirty for weeks is a petri dish. Especially in Indian humidity, residue can develop mould.
In India's summer heat - we're talking 38°C to 45°C across most of the north from April to June - resin softens and becomes stickier much faster than in cooler climates. What takes a month to gunk up in winter will clog your grinder in two weeks during peak summer. Clean more often this time of year.
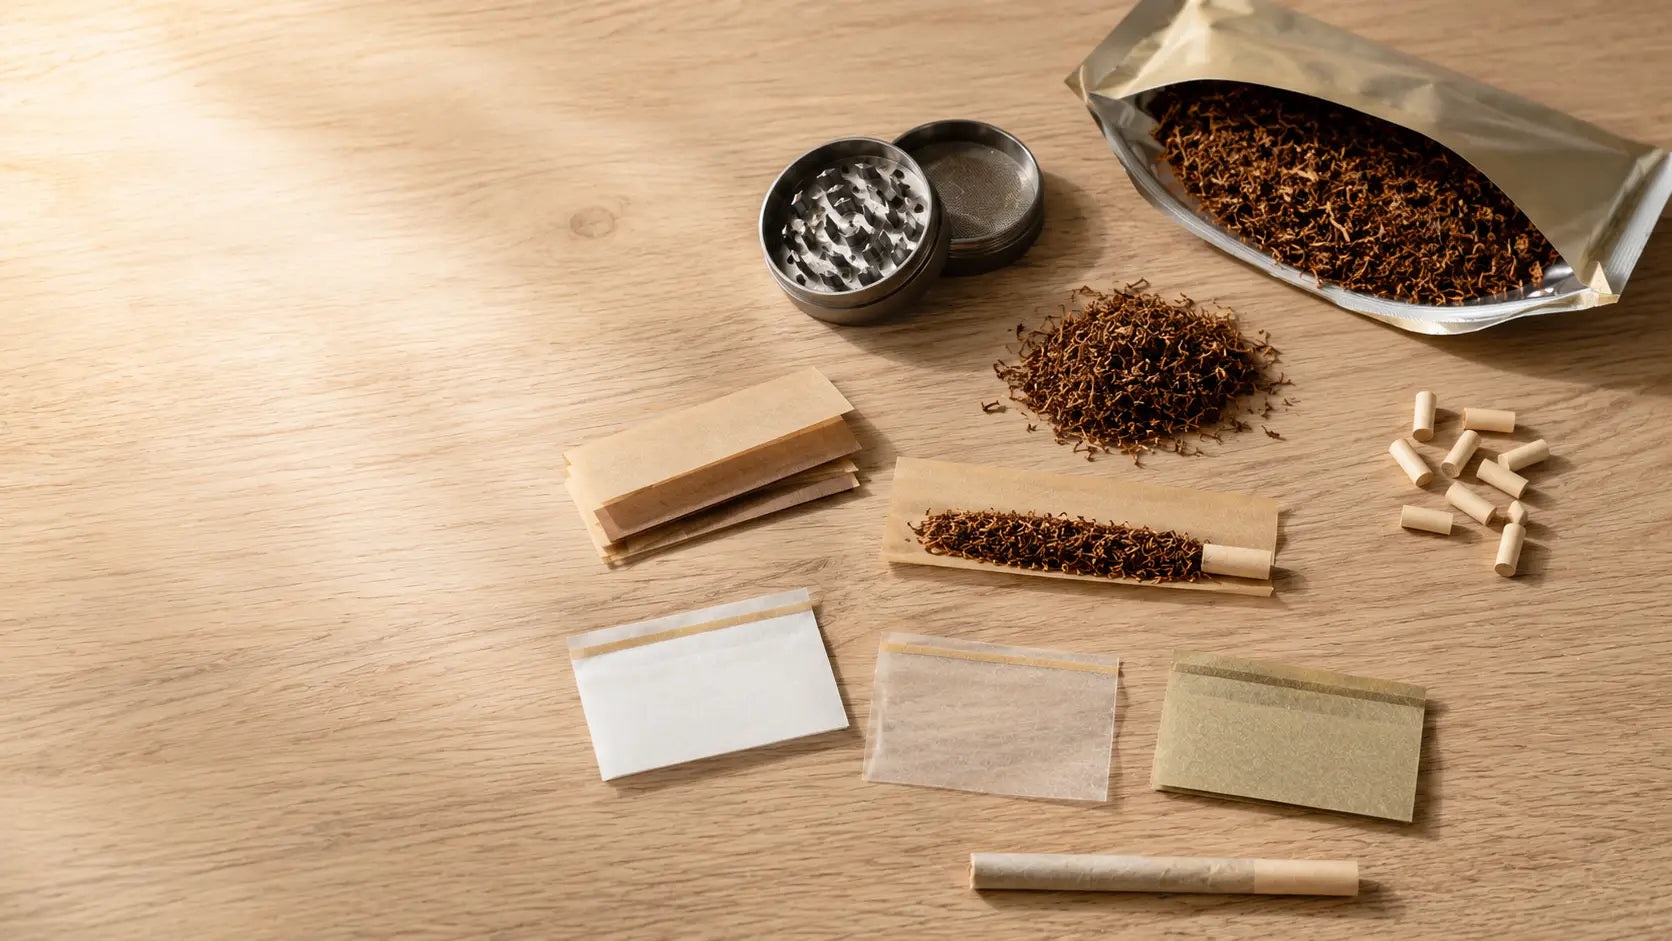
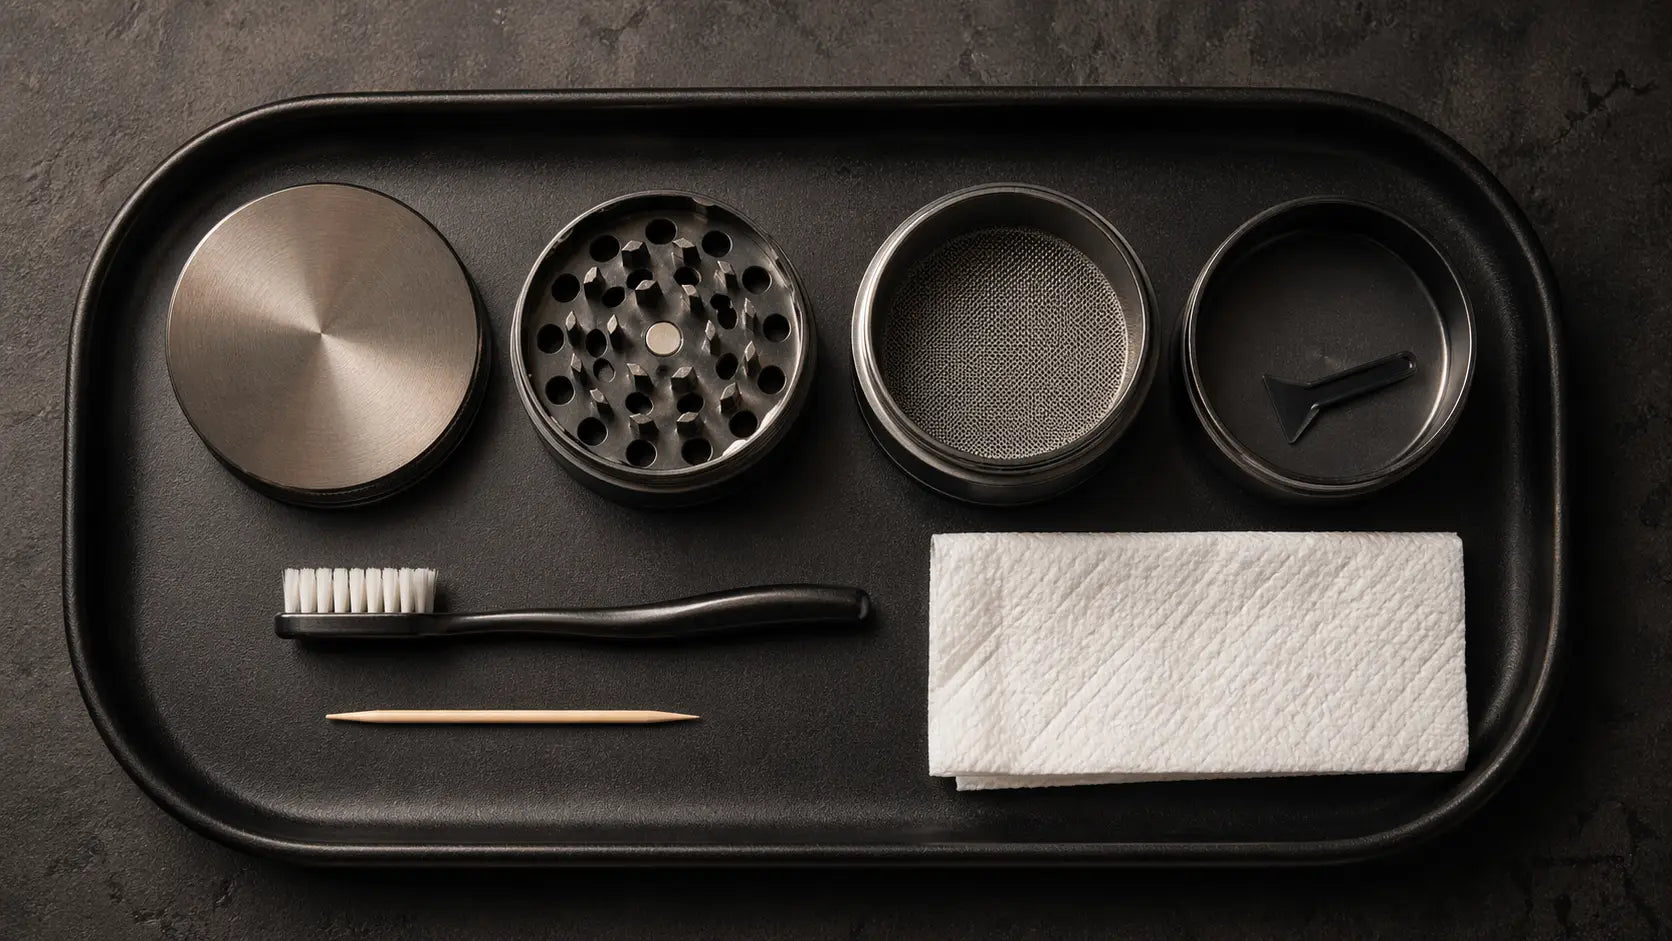
Isopropyl alcohol - 90% or higher (available at any chemist/medical store)
A small brush - an old toothbrush works perfectly
A toothpick or wooden skewer
A zip-lock bag or any airtight container
Paper towels or a clean dry cloth
A small plate or tray to work on
For acrylic or plastic grinders: Skip the isopropyl alcohol - it can cloud or crack plastic. Use warm water with a tiny drop of dish soap instead.
For metal grinders (aluminium, zinc alloy, stainless steel): Isopropyl alcohol is perfect and evaporates cleanly without leaving any residue behind.
If you're looking to upgrade after this, our full range of metal herb grinders - from 55mm to 63mm - are all designed to be easy to clean and built to last. But let's get your current one sorted first.
This is the step that most cleaning guides skip, and it makes everything else ten times easier. Before you do anything else, put your grinder in the freezer.
Here's the science: resin is a sticky, semi-fluid substance at room temperature. When you freeze it, it hardens and becomes brittle - it loses its stickiness and stops clinging to the metal surface. Instead of scrubbing at gummy residue (which just spreads it around), you're knocking off dry, crumbly bits that come away cleanly.
Fully disassemble your grinder - take it apart into every individual piece. For a 4-piece grinder, that's the lid, grinding chamber, collection chamber, and the kief catcher at the bottom.
Place all the pieces in a zip-lock bag. This keeps any loose herb or residue from making a mess inside your freezer.
Freeze for 30 to 45 minutes. An hour won't hurt. Don't go overnight - excessive cold can affect the thread alignment on aluminium bodies over time.
Take the pieces out and immediately tap each one firmly against the inside of the bag or a clean plate. You'll see tiny flakes of hardened resin fall right off the teeth and surfaces.
Use your brush to give each piece a quick dry scrub while they're still cold. This removes most of the loose material before the soak.
If you have a LIT Vault Grinder™, the built-in storage chamber means there's often more material collected at the bottom - worth scooping that out into a small container before freezing so nothing gets wasted.
Once you've knocked off the easy bits in Step 1, it's time to go after the stubborn residue that's stuck in the threads, between the teeth, and clogging the mesh screen.
Pour isopropyl alcohol into your zip-lock bag or container - enough to fully submerge all the metal pieces.
Drop all metal parts in and seal the bag. Give it a gentle shake, then let it soak for 10 to 20 minutes. The alcohol dissolves the sticky resin without damaging the metal.
Take each piece out and scrub it with your toothbrush. Pay special attention to the teeth - go in the direction of the tooth rows, not against them. Use a toothpick to clear out any individual teeth that still have residue packed around their base.
For the mesh screen (on 4-piece grinders): hold it up to the light. You'll be able to see which holes are clogged. Use the toothpick to gently press through each clogged hole from the top side, then brush again with the toothbrush.
Rinse every piece thoroughly under warm running water. Make sure no alcohol smell remains - residue-free is the goal.
Quick tip for the threads: The threading on a grinder is where resin builds up fastest because the two pieces are always grinding against each other there. Run your toothpick along the thread groove a couple of times before rinsing - you'll be surprised how much comes out.
While your grinder is soaking, it's a good time to check on your rolling supplies. If your papers or pre-roll cones have been sitting out in the heat, they might need attention too - our guide on choosing the right pre-rolled cones covers how material affects freshness in different conditions.
This is the step most people mess up. After cleaning, they're eager to get back to their session and reassemble immediately - before the parts are fully dry. That is how you get rust on metal grinders and that weird metallic taste in your first few grinds after a clean.
Pat every piece dry with a paper towel or clean cloth. Get into the teeth, the chamber walls, the threading - everywhere you can reach.
Set all the pieces out on a clean dry surface and let them air dry completely. At least 1 hour at room temperature. In Indian summer, the heat actually helps here - 45 minutes is often enough if you're somewhere warm and well-ventilated.
Before reassembling, hold each piece up to the light and rotate it slowly. Any damp spots will catch the light. If you see any, wait longer.
Once everything is fully dry, reassemble and do a couple of test grinds with just a small pinch of herb. This "seasons" the teeth again and clears any last traces before your real session.
Optional - lubricate the threads: On high-use metal grinders, a very small amount of food-grade coconut oil rubbed on the threading (not the grinding teeth) can reduce friction and make the grinder turn more smoothly. Use only a tiny amount - a finger tip's worth. This is not necessary on most grinders but helps on older ones with worn threading.
The honest answer depends on how often you use it and the ambient temperature around you. Here's a rough guide for Indian conditions:
|
Usage Level |
Season |
Clean Every |
|
Light (2–3x a week) |
Winter / Monsoon |
Every 3–4 weeks |
|
Light (2–3x a week) |
Summer (Apr–Jun) |
Every 2 weeks |
|
Moderate (daily) |
Winter / Monsoon |
Every 2 weeks |
|
Moderate (daily) |
Summer (Apr–Jun) |
Every 7–10 days |
|
Heavy (multiple times daily) |
All year |
Every 5–7 days |
The easiest way to tell if your grinder needs a clean: twist it with no herb inside. It should spin freely with zero resistance. Any stiffness or sticking? Clean time.
You don't need to do the full 3-step process every single week. Between deep cleans, these small habits will keep your grinder running smoothly:
Tap after every use: After grinding, hold the chamber upside down and tap it firmly on your palm or rolling tray. Loose material falls out instead of compacting into residue.
Brush the teeth weekly: A 30-second dry brush with an old toothbrush after every few uses keeps surface build-up in check.
Don't over-pack the chamber: Loading too much herb at once creates more friction and more residue. Half-full is the sweet spot for most grinders.
Store it in a cool, dry place: This is especially important during summer. A grinder sitting on a hot surface - a windowsill, car dashboard, or even a sunny desk - is going to get sticky faster. Store it in a drawer or a pouch or rolling kit.
The method above works for most grinders, but there are a few small differences to be aware of depending on what you have:
The simplest design - just a lid with teeth and a base with teeth. Easiest to clean. No screen, so the entire grind stays in the bottom chamber. Follow all three steps as described.
These have a grinding chamber, a collection chamber separated by a mesh screen, and a kief catcher at the bottom. The screen is the most important part to clean properly - a clogged screen means nothing gets through to the bottom chamber. Spend extra time on the screen during Step 2.
The LIT Vault Grinder™ combines grinding with a built-in storage compartment, so you're keeping ground herb in the same body. This means residue can transfer to the storage area too. When cleaning, make sure to clean that storage section separately - it tends to retain smell and oils from the ground material.
Never use isopropyl alcohol on plastic - it will cloud the material and can cause cracking over time. Use warm water with a drop of dish soap for the soak stage, and keep the freezer step short (20–25 minutes is enough). Consider upgrading to a metal grinder if you want something more durable and easier to maintain long-term.
Cleaning extends the life of a grinder significantly, but nothing lasts forever. Here are the signs that it's time for a new one rather than another deep clean:
The teeth are visibly worn down, chipped, or broken - worn teeth produce an inconsistent grind that no cleaning will fix.
The threading is so damaged that the pieces don't screw together smoothly even after cleaning.
The mesh screen has tears or large holes - material passes through that shouldn't.
There's a persistent metallic taste even after thorough cleaning - this can indicate oxidation inside the chamber.
The magnet (on magnetic-close grinders) is no longer holding the lid firmly.
If any of these apply, it's worth picking up a new one. Our LIT Herb Grinder range starts at affordable price points and is built from materials that are made to last through regular Indian use - not just the occasional light session.
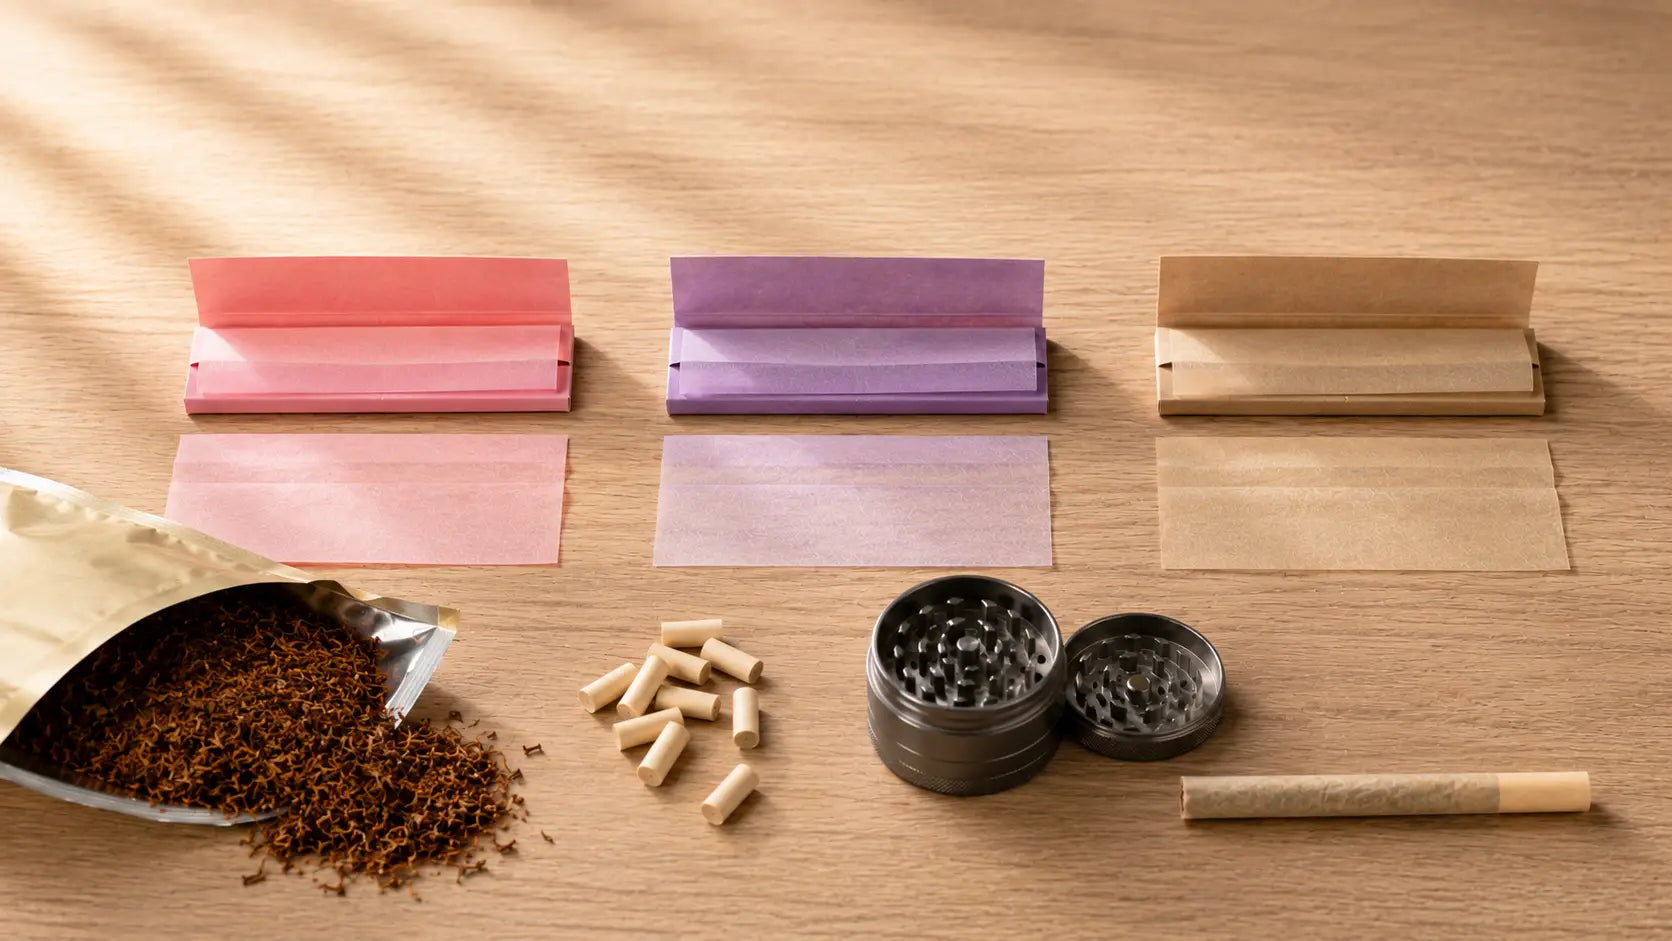
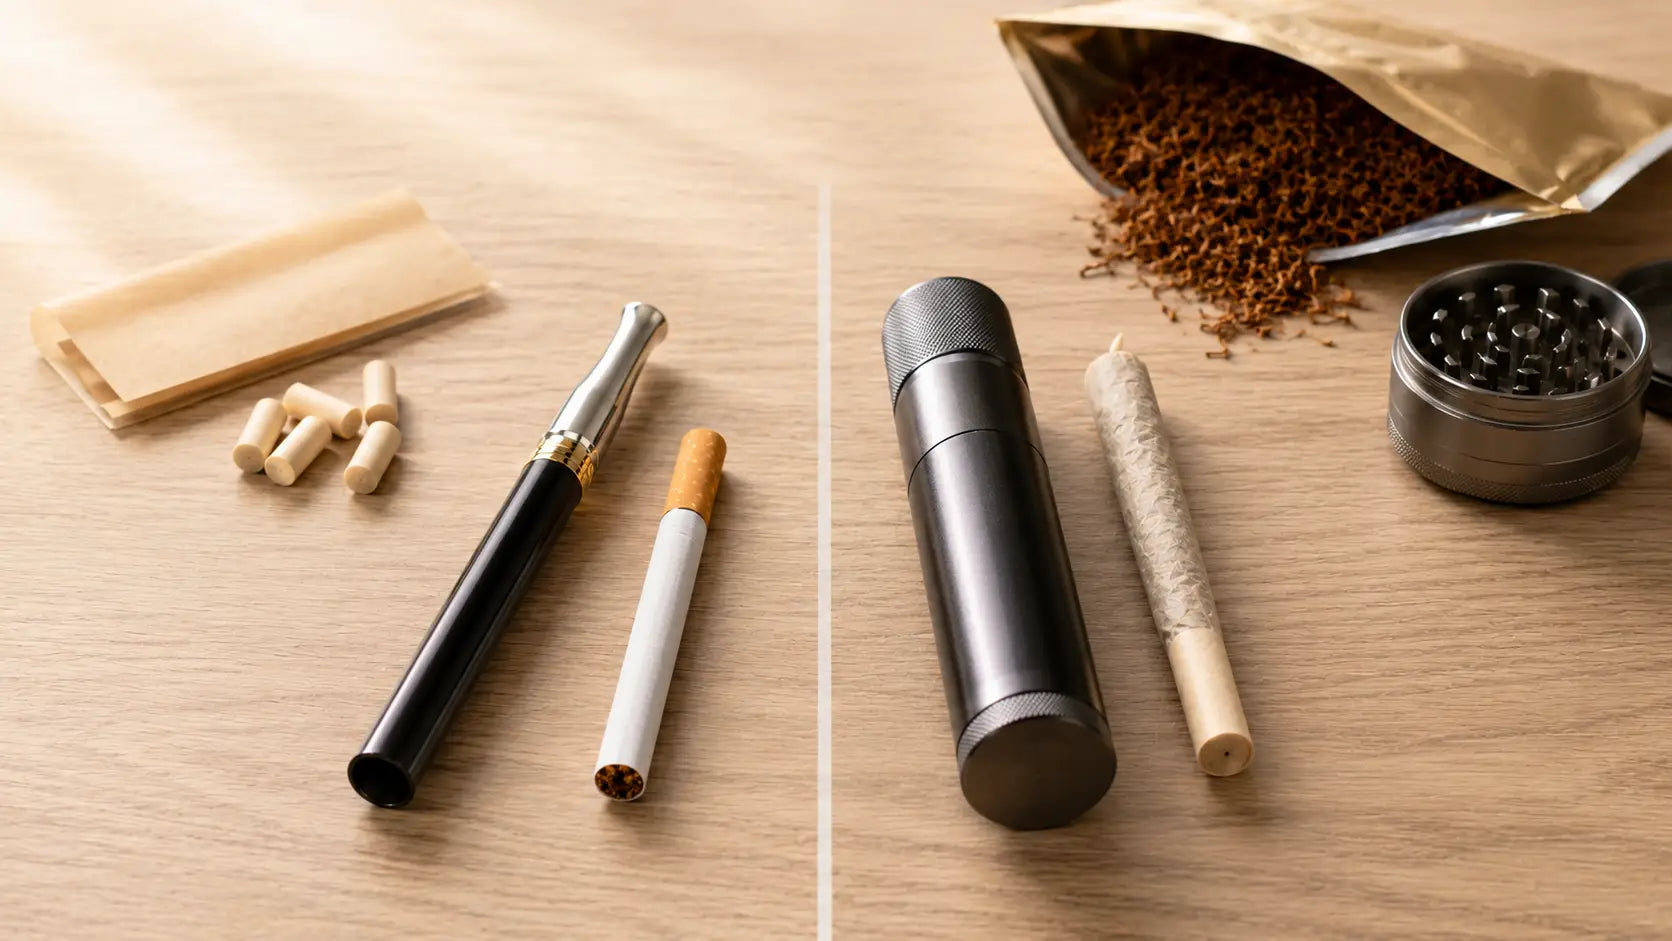
A clean grinder is the foundation, but a great session needs everything working together. Once your grinder is fresh, make sure the rest of your setup is sorted too:
Fresh rolling papers that aren't dried out from the heat - browse our full rolling paper collection for slow-burning, clean options.
Good pre-rolled cones if you want to skip the roll - especially on days when the heat makes paper harder to handle. Check out our pre-roll cone range.
A proper rolling tray so you're not losing material to the floor or a sticky table surface. Our LIT Crushing Tray is built for exactly this.
Rolling tips to make finishing your roll cleaner and easier - find them in our rolling tips section.
And if you want to understand more about what makes a great rolling paper - beyond just the brand name - our deep dive into the science of slow burn and paper porosity is worth a read. It'll change how you pick your papers.
Use isopropyl alcohol at 90% concentration or higher. Regular rubbing alcohol found at chemist shops in India is usually 70% - it works but takes longer to dissolve resin. Avoid household spirits with added fragrances; they leave their own residue behind.
30 to 45 minutes is enough for most grinders. The goal is to harden the resin so it becomes brittle and snaps off when tapped. Going longer than 2 hours is unnecessary and not recommended for aluminium-bodied grinders.
Yes. Isopropyl alcohol dissolves the aromatic oils in dried resin. After a proper clean and a full dry, most of the smell is gone. If a faint smell remains on older grinders, a second soak usually handles it.
Technically possible but not recommended. The high heat and harsh detergents can dull the anodised finish on aluminium grinders and speed up thread wear. The toothbrush method gives you more precision and does a better job on the teeth and screen.
Either the alcohol concentration was too low, the soak time too short, or the grinder was reassembled before it was fully dry. Repeat Step 2 with higher-concentration isopropyl, give it a 20–30 minute soak, and make absolutely sure it is bone-dry before putting it back together.
Soak the screen in isopropyl alcohol for 20 minutes, then hold it up to a light source. You'll see exactly which holes are blocked. Use a toothpick to gently push through each clogged hole from the top, then scrub with the toothbrush, rinse under warm water, and air dry completely. A clean screen makes a noticeable difference to how well your grinder separates material.
A grinder is one of those things you don't think about until it stops working well - and by then, it's been quietly making your sessions worse for longer than you'd like to admit. Twenty minutes, a bottle of isopropyl, and an old toothbrush is all it takes to get it back to its best.
With Indian summer in full swing right now, it's worth building this into a regular habit - not just a once-in-a-while rescue operation. Clean grinder, fresh papers, proper cones. That's the LIT setup.
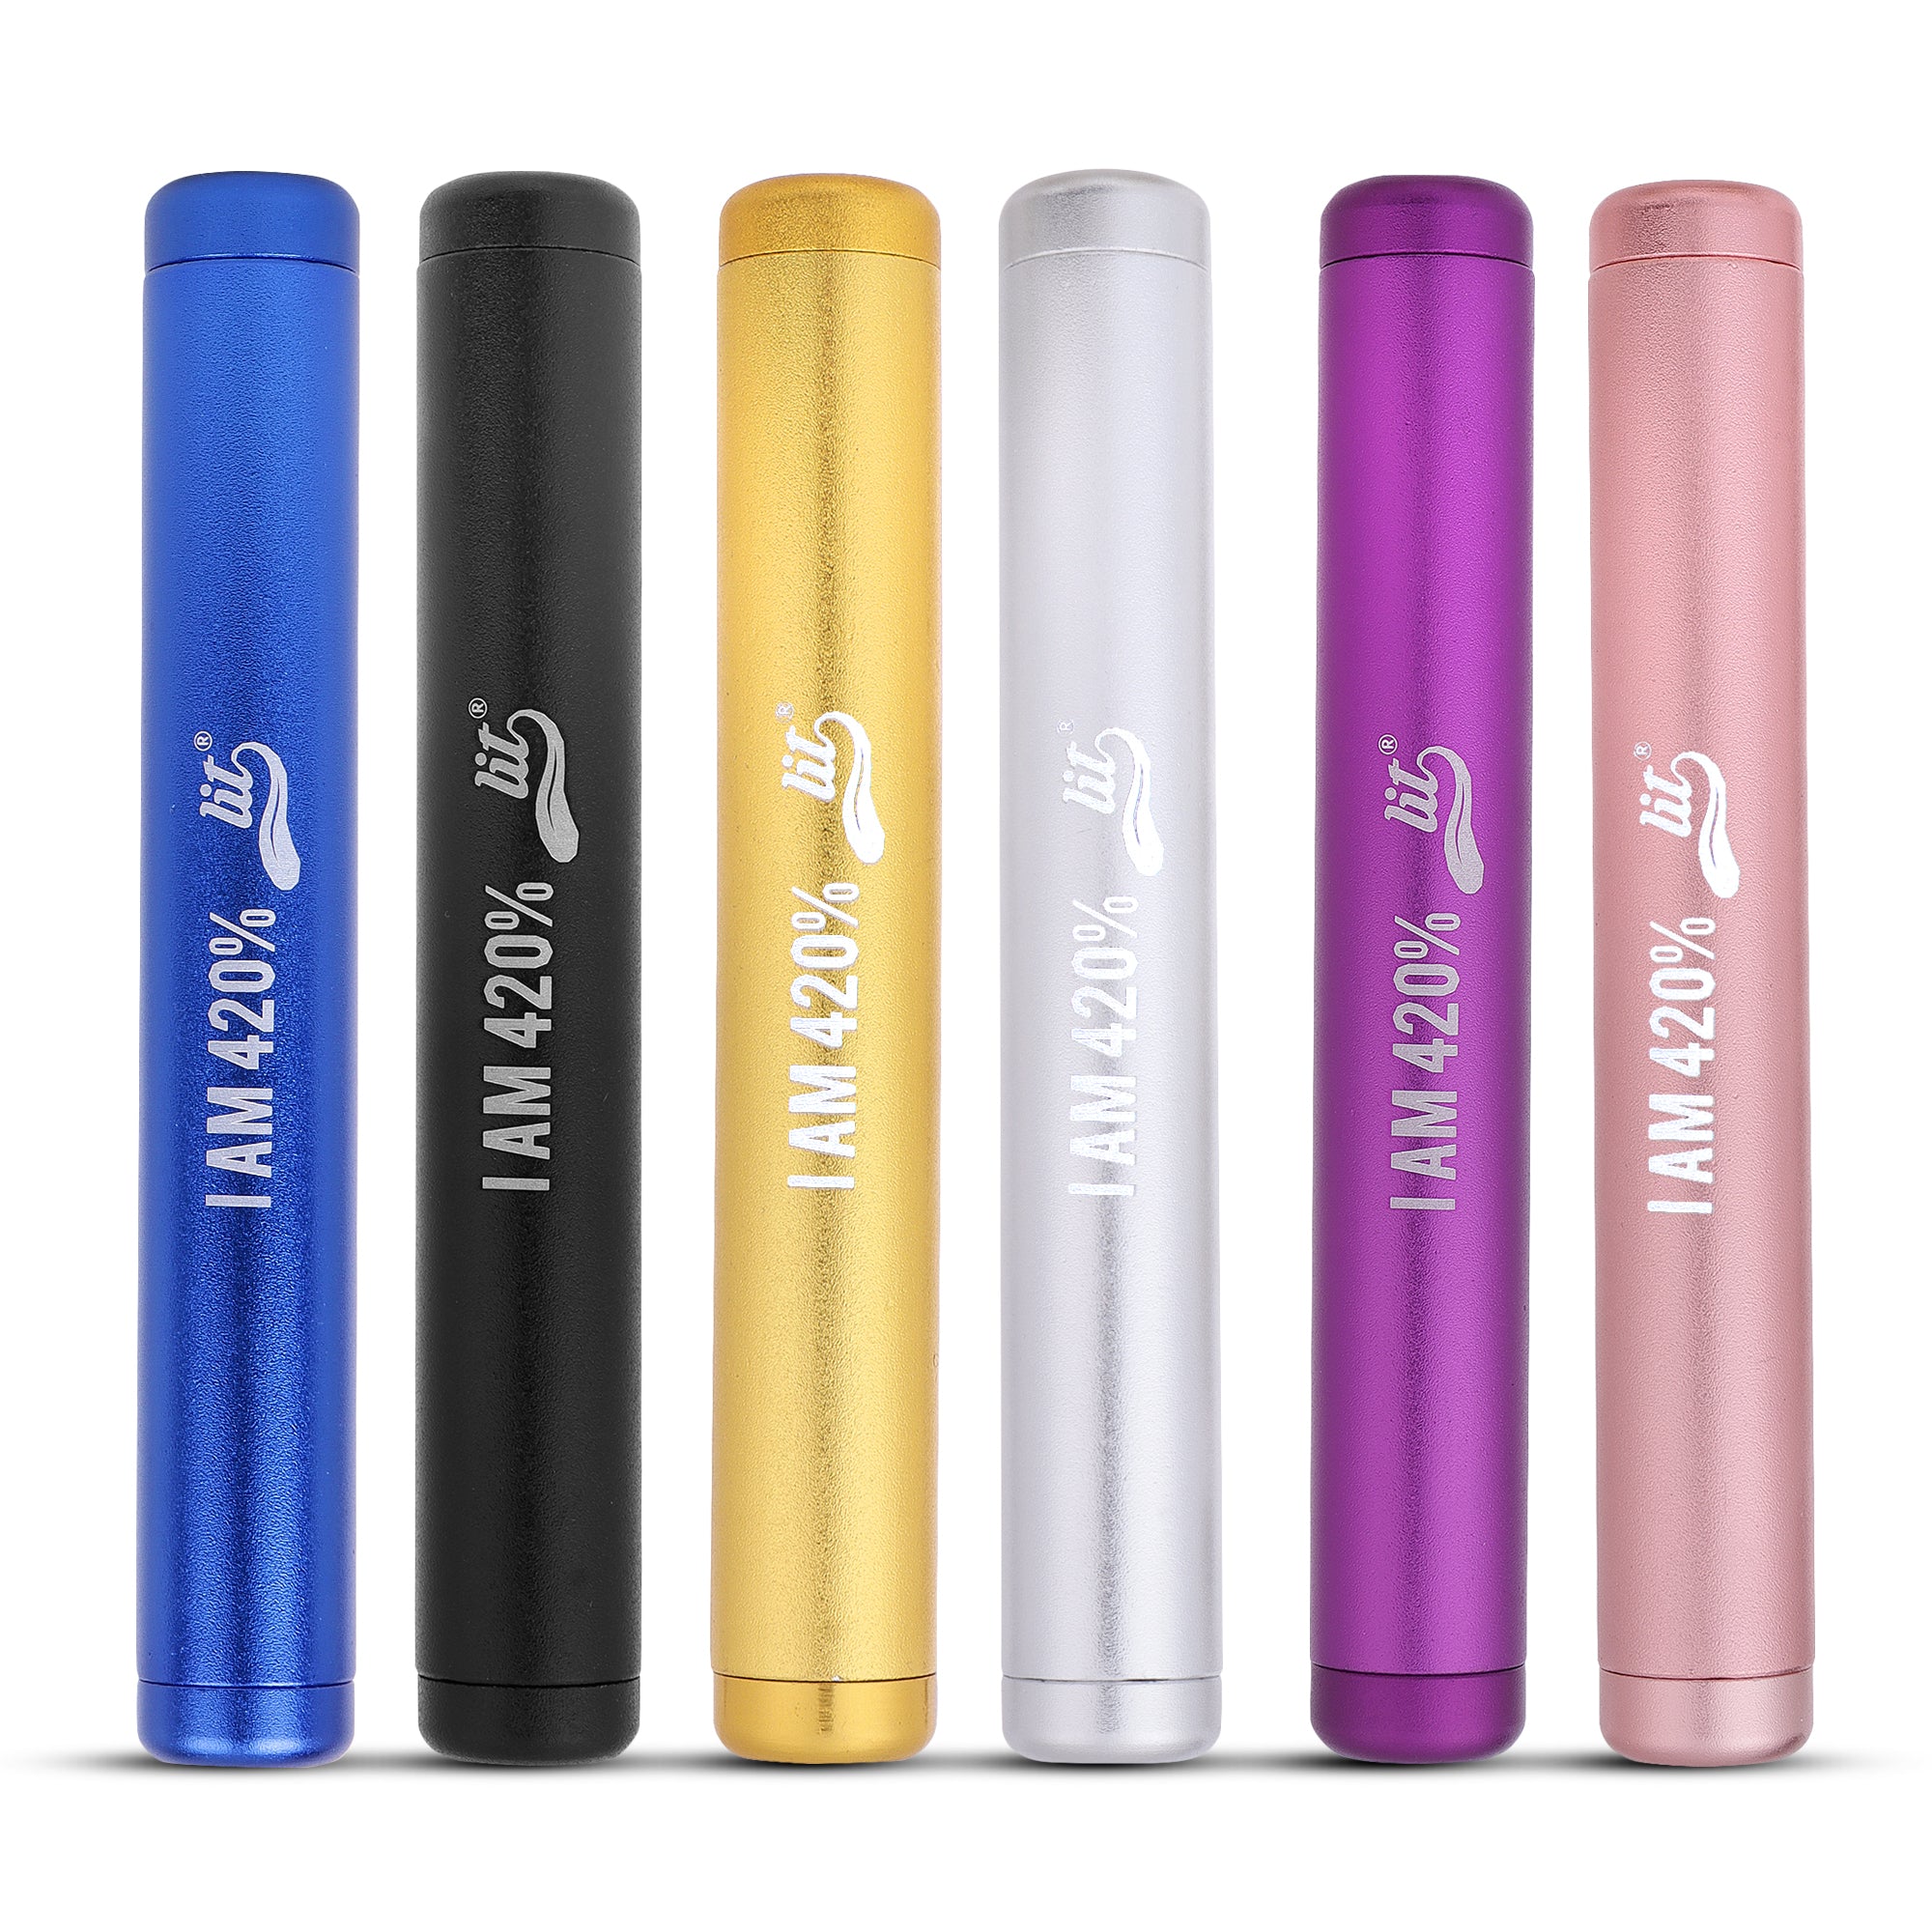
If you're in the market for a new grinder - or just want to see what a well-designed one looks like - take a look at our LIT Vault Grinder™. Compact, smooth, built-in storage, and designed to be easy to clean from the start. Also check our complete accessories range - everything you need for a complete, well-maintained setup.
Stay LIT.