Cart
0


At some point, every smoker has rolled on a surface that was absolutely not designed for rolling. A hardcover book. A phone case. A flipped-over plate. Their own lap. And every single time, the same things happen - herb goes everywhere, a rolling tip rolls off the edge and disappears, and the whole thing takes twice as long as it should.
A rolling tray solves all of that. It's one of those accessories that sounds like a minor upgrade until you actually use one, and then you genuinely wonder how you managed without it. In India, rolling trays are still massively underrated compared to how common they've become globally - most smokers invest in good papers, a decent grinder, and then overlook the surface they're actually rolling on.
This guide covers everything you need to know about rolling trays - what they are, what they actually do for your session, what to look for when picking one, and how they fit into a complete rolling setup. Whether you've never owned one or you're looking to upgrade, this is the full picture.
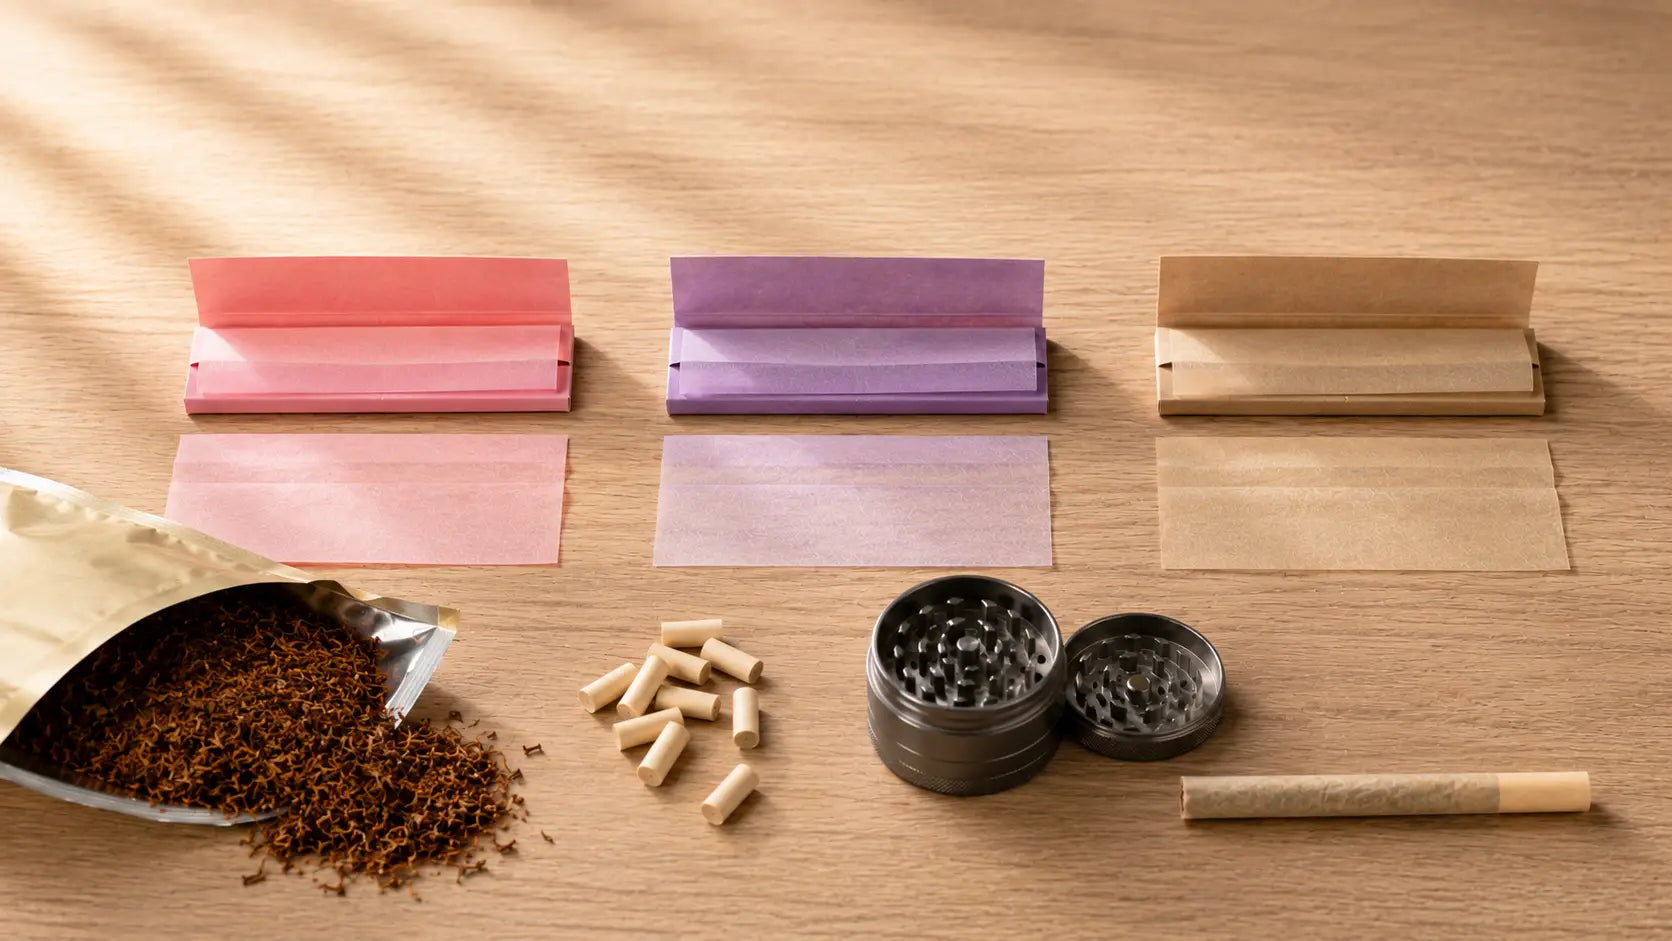
A rolling tray is a flat surface with raised edges - typically 1 to 2 centimetres high - designed specifically to contain everything you're working with during a rolling session. The concept is simple: instead of rolling on a random flat surface where herb can scatter in any direction and rolling tips can fall to the floor, you have a contained workspace where everything stays put.
The practical difference is bigger than it sounds. Here's what changes when you start using a proper rolling tray:
Nothing gets lost. Herb stays in the tray. Rolling tips stay in the tray. If a paper slips from your fingers, it lands in the tray, not on the floor or the sofa cushion. In a group session, this matters a lot.
Rolling becomes easier. A flat, smooth, hard surface is significantly better for rolling than a book cover or a soft surface. Your fingers have proper resistance to work against when tucking and rolling, which means cleaner, tighter rolls with less effort.
You waste less herb. Without a tray, any material that falls off the paper or out of the grinder is gone - into a carpet, down a gap in the sofa, or simply lost on a dark surface. With a tray, it all sits right there and goes back into the roll.
Your setup looks and feels intentional. This might sound superficial, but there is a difference in the energy of a session when your setup is organised versus scattered across three surfaces. A tray brings your whole rolling kit together - papers, tips, grinder - in one spot.
Cleanup is instant. After the session, everything loose on the tray tips into a bin in one move. No picking herb out of carpet fibres or off a desk surface.
A rolling tray is not a luxury item. It is a functional tool, and the impact it has on the rolling process is immediate and obvious from the first time you use one.
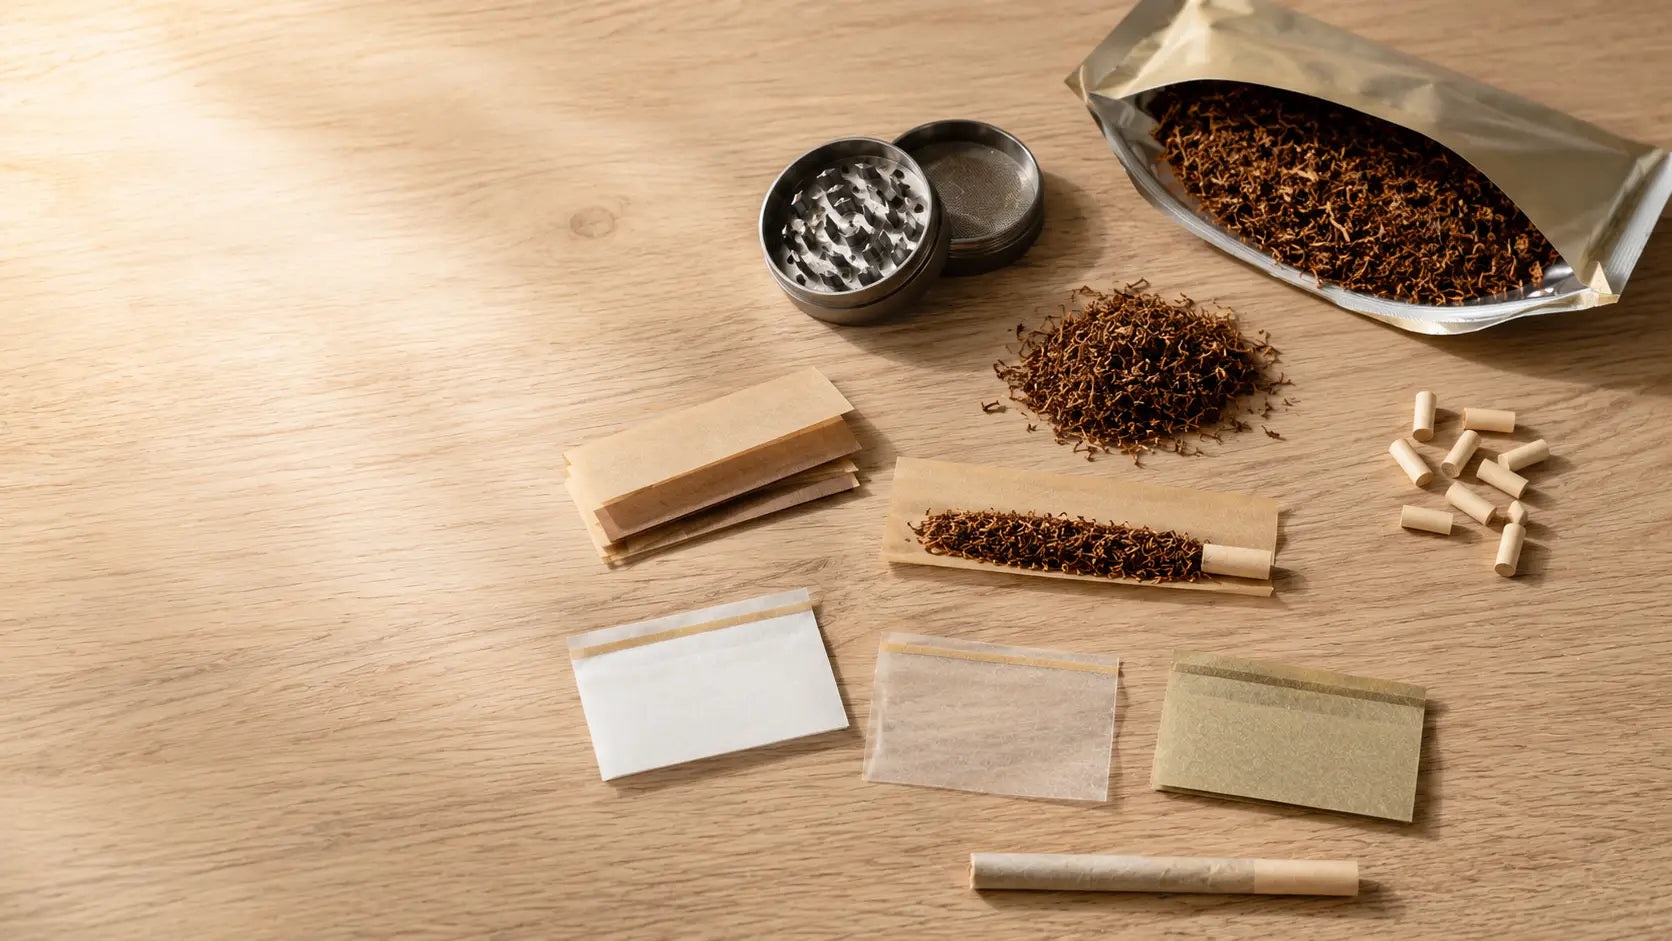
The material your rolling tray is made from affects how it performs, how long it lasts, and how easy it is to keep clean. Here's a breakdown of the main options available in India.
Metal rolling trays are the gold standard for most smokers, and for good reason. The surface is perfectly smooth, which makes rolling on it easy and means paper glides rather than grips. Metal doesn't absorb smells or oils from herb over time, so the tray stays neutral after extended use. It's easy to wipe clean after each session - a dry cloth is usually enough, and a damp cloth removes anything more stubborn. Metal trays are also durable enough to last years with regular use without warping, cracking, or scratching in ways that compromise the surface.
The one thing to watch with metal trays is moisture - especially in humid Indian conditions during the monsoon. A tin tray left with moisture on it for extended periods can develop surface rust on low-quality pieces. A wipe-down after cleaning and keeping it dry between sessions is all it takes to prevent this.
Wooden and bamboo trays look great and have a natural, warm aesthetic. They work well as a rolling surface and are sturdy. The downside is that wood absorbs oils from herb over time and can start to retain smell in a way metal doesn't. They're also harder to clean thoroughly - you can't use alcohol or soaking, just a dry or lightly damp wipe. In India's monsoon season, wood can warp slightly with humidity changes. Good for home use in a dry environment; less practical for on-the-go or high-frequency use.
Plastic trays are cheap and widely available, but they're a compromise in almost every way. Plastic scratches easily - and scratches hold residue that is difficult to clean. Plastic can retain odour over time. The static charge that builds up on plastic surfaces makes small pieces of herb and paper cling to the surface instead of staying loose. Unless budget is the absolute primary concern, a metal tray is worth the small extra investment and will outlast multiple plastic ones.
Rolling trays come in a range of sizes, and picking the right one depends on how you use it, where you use it, and how much of your setup you want to keep on the tray at once.
|
Size |
Approx. Dimensions |
Best For |
|
Small |
7 × 5 inches |
Solo sessions, travel, minimal kits |
|
Medium |
11 × 7 inches |
Regular home use, daily smokers, pairs |
|
Large |
13 × 10 inches |
Group sessions, full setups, desktop stations |
|
Extra Large |
14 × 12 inches + |
Heavy use, full kit on tray including ashtray |
For most people rolling solo or in pairs at home, a medium tray covers everything comfortably - there's room to roll, keep your papers and tips at the side, rest the grinder at the top, and still have open surface to work on. If you tend to have group sessions or want your entire rolling station - grinder, papers, tips, ashtray, and lighter - organised in one place, go large.
For portability - carrying to a rooftop, a park, a friend's place - a small or medium tray that fits in your bag is the more practical pick. Some trays fold or come with a lid or case, which makes them genuinely travel-friendly.
At LIT, we've built our tray range around two things: functionality that holds up with daily use, and a design that actually looks good in your space. Our trays are part of the same philosophy as all our LIT accessories - built for people who take their rolling setup seriously.
The LIT Crushing Tray is our core rolling tray offering - a clean, flat metal surface with the raised edges and smooth finish you need for a proper roll. It's built for daily use and designed to be easy to maintain. The surface is smooth enough for clean rolling and sturdy enough to double as a crushing surface when you're breaking down herb before grinding.
The LIT Four Fold Tray is our portable option - a tray that folds down to a compact size, making it genuinely easy to carry in a bag without taking up the space a full flat tray would. It unfolds into a large working surface when you need it. If you're someone who rolls in more than one place - at home, at a friend's, outdoors - the Four Fold is the more versatile choice. It's the kind of piece that once you have it in your kit, you'll wonder why you waited.
Both trays are available in our LIT accessories collection alongside the rest of our rolling kit - grinders, tips, joint holders, and more.
A rolling tray is straightforward to use, but there are a few small habits that make a noticeable difference to how smooth the process feels.
Before you even pick up a paper, get everything onto the tray first. Grinder on one side, papers and tips on the other, lighter somewhere it won't roll. This way you're not reaching across the room mid-roll with herb in your hands. Everything you need is within arm's reach on a single surface.
Hold your grinder over the tray when opening it after grinding - especially with a 4-piece grinder where the collection chamber can sometimes spill when you separate it. Any loose material falls onto the tray surface where you can use it, rather than onto whatever surface you're sitting near.
Use the full surface area. One of the most common mistakes with a rolling tray is treating it like a tiny square and cramming the roll into the centre. Lay the paper lengthways across the tray, work with the full surface, and use the raised edges as guides when tucking. The extra surface area makes a measurable difference to the quality of the roll.
After rolling, tilt the tray gently and consolidate any loose material into one corner before tipping it into your grinder or a small container. You'd be surprised how much material accumulates over a few sessions - material that would otherwise have been lost on a regular surface.
A clean tray is a better rolling surface than a gunked-up one. A quick dry wipe after each session - 10 seconds - keeps the surface smooth and clean. If residue builds up in the corners, a cotton swab with a little isopropyl alcohol clears it out quickly. The same isopropyl you might use when cleaning your grinder works perfectly here too.
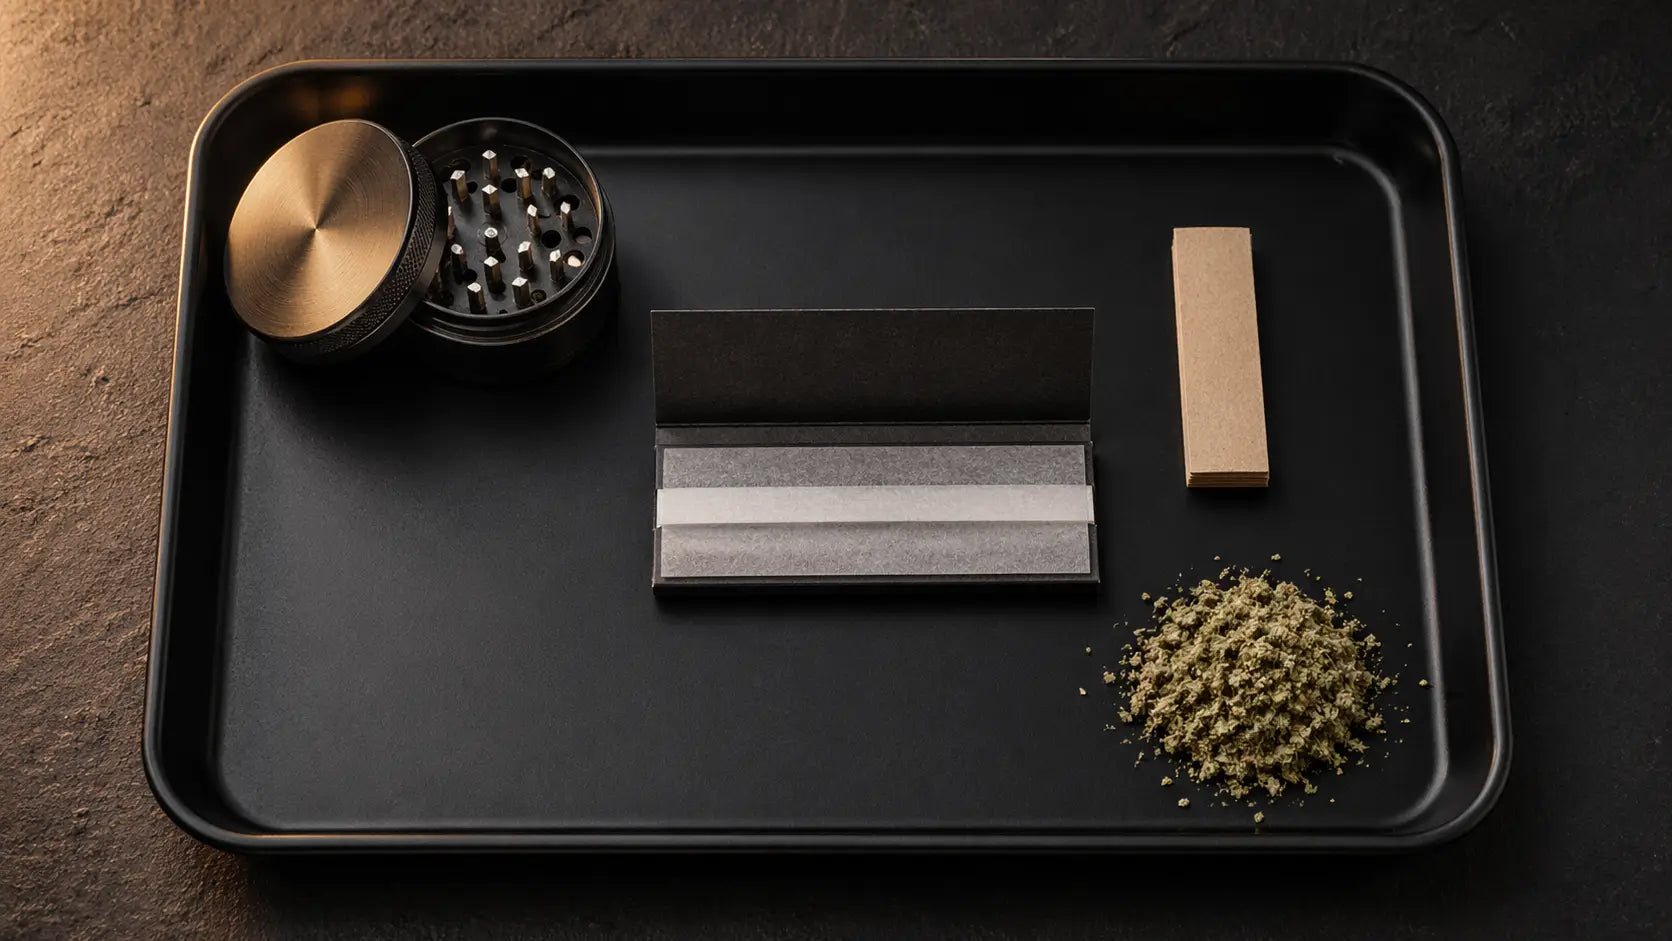
A rolling tray works best as the anchor of a complete setup rather than a standalone piece. Here's how the full kit comes together - each piece doing a specific job so the whole session runs smoothly.
The tray: Your workspace. Everything happens here. Start with the LIT Crushing Tray for home use or the Four Fold Tray if you move around.
The grinder: A clean, sharp grinder is what gets you consistent, rollable herb in under a minute. The LIT Vault Grinder™ grinds and stores in one compact body - no separate container needed. Keep it clean for best results - our 3-step grinder cleaning guide walks you through it.
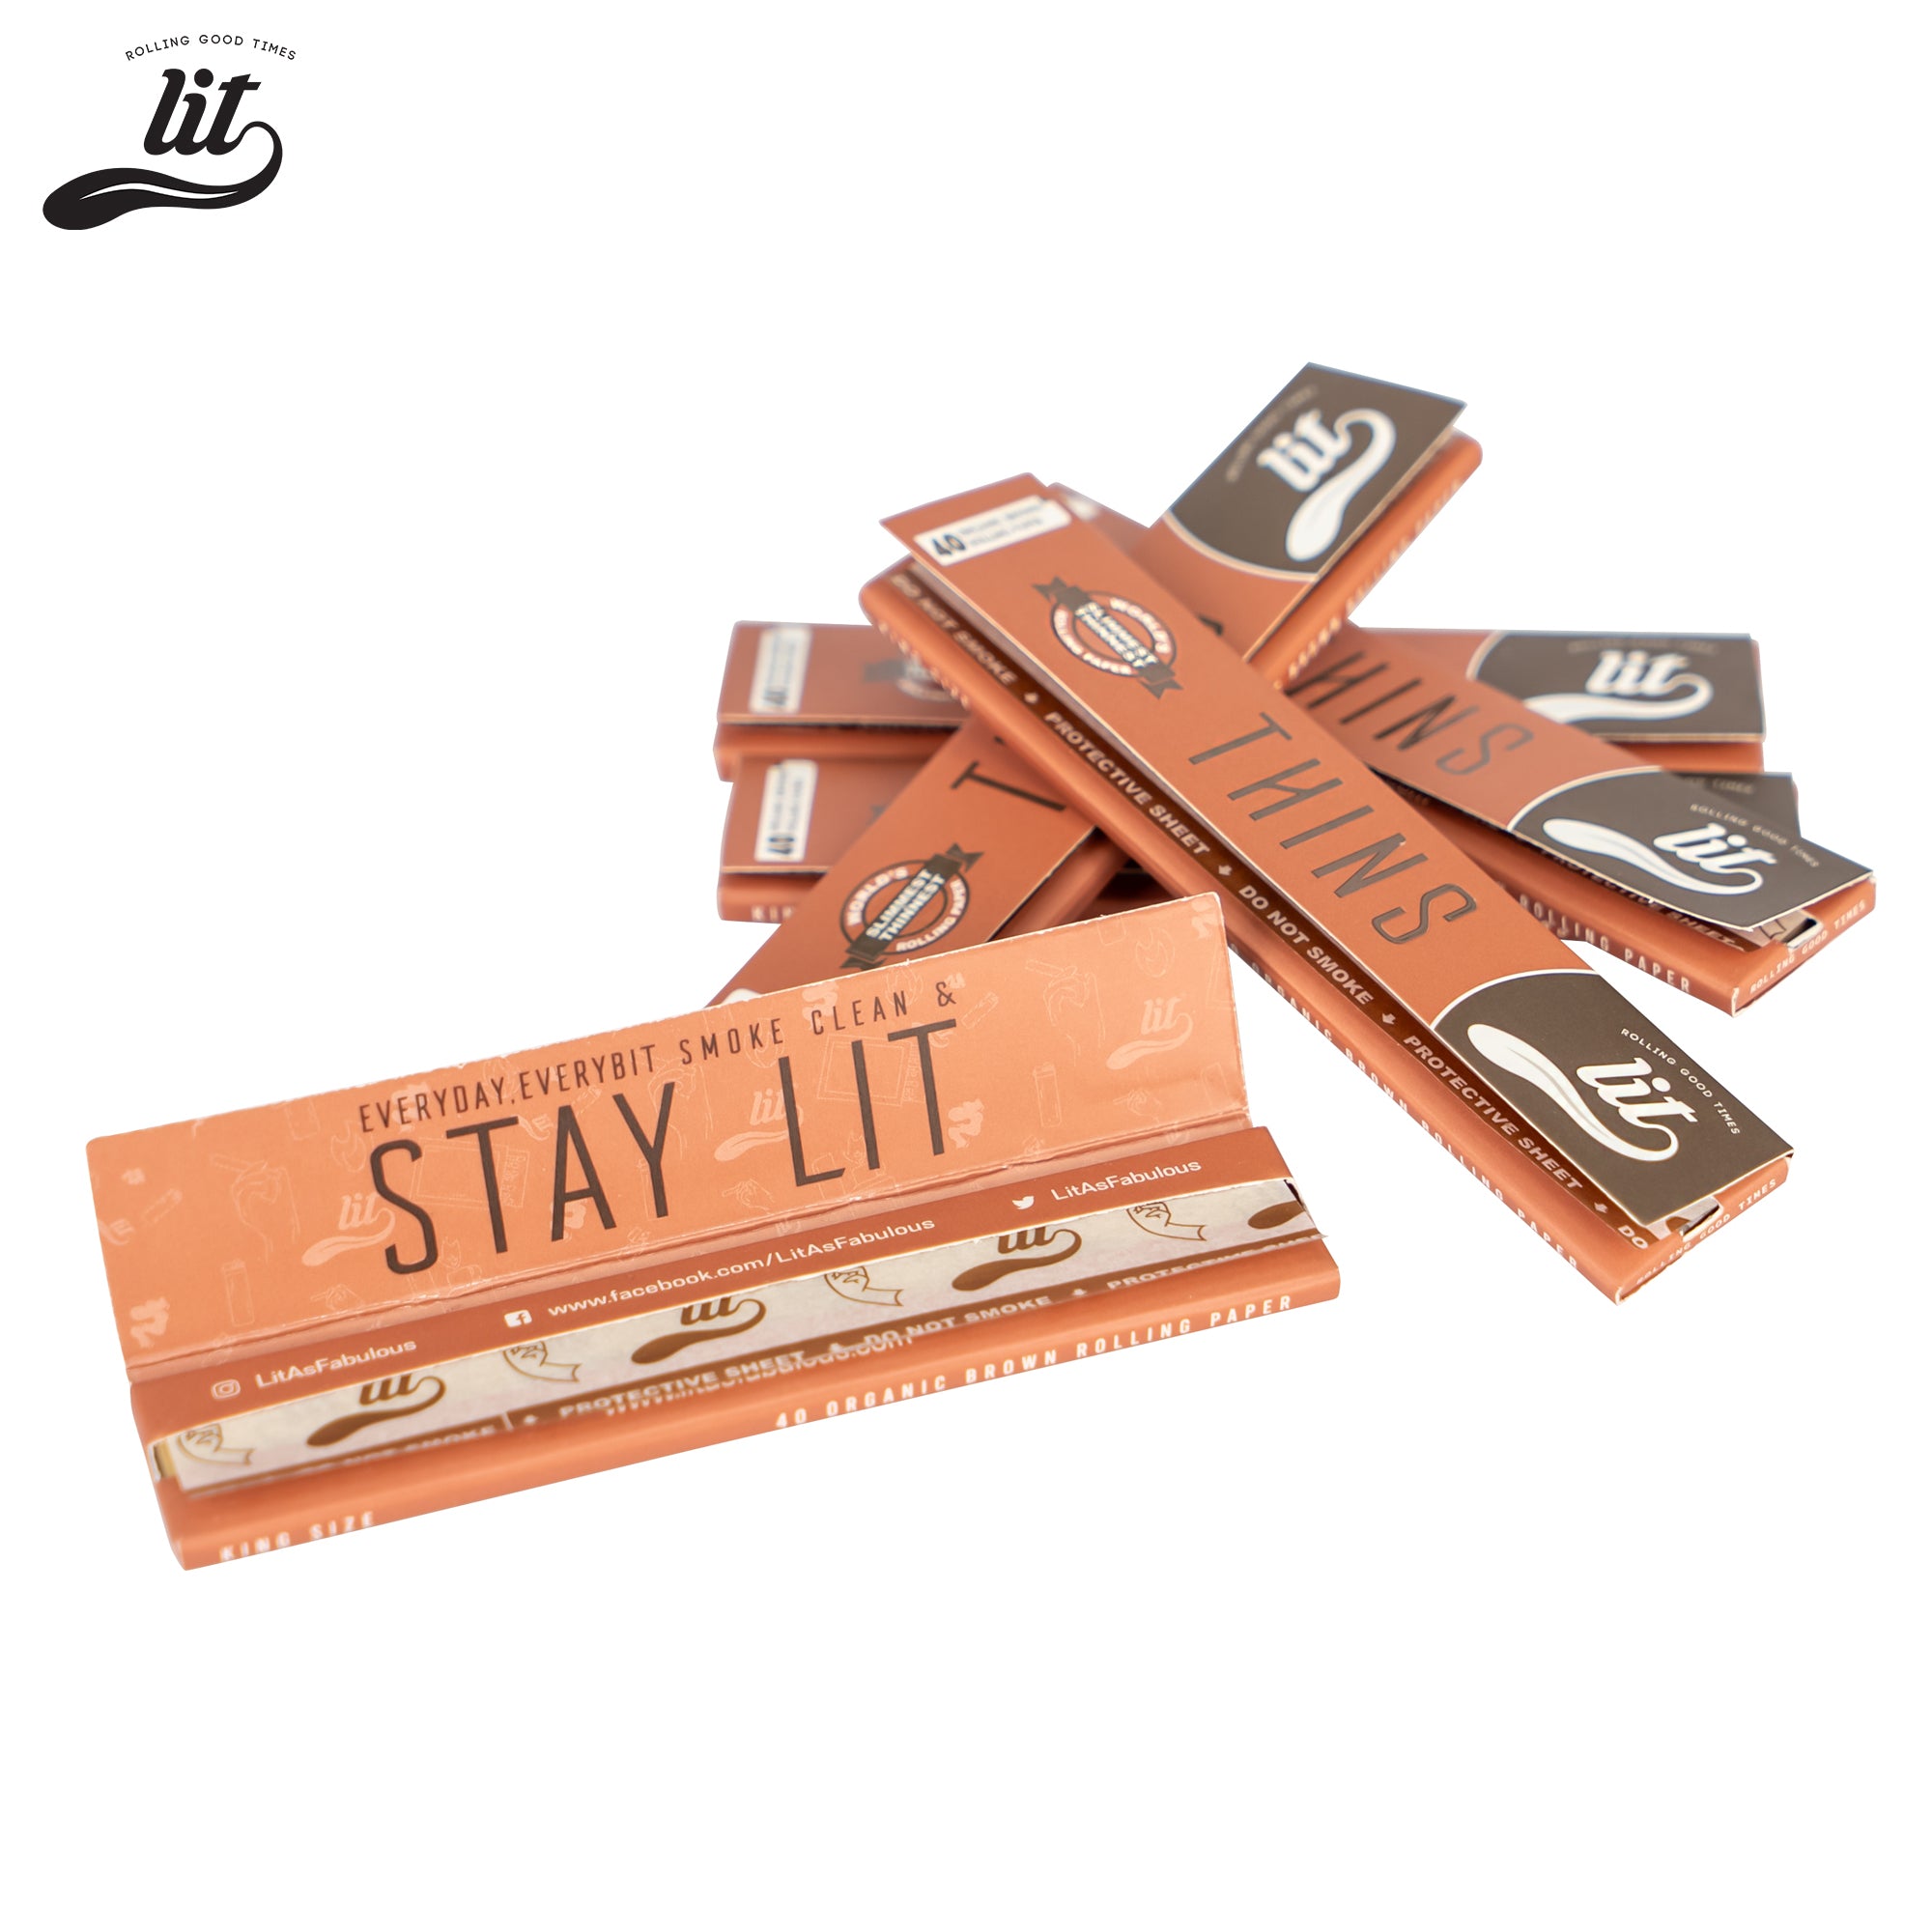
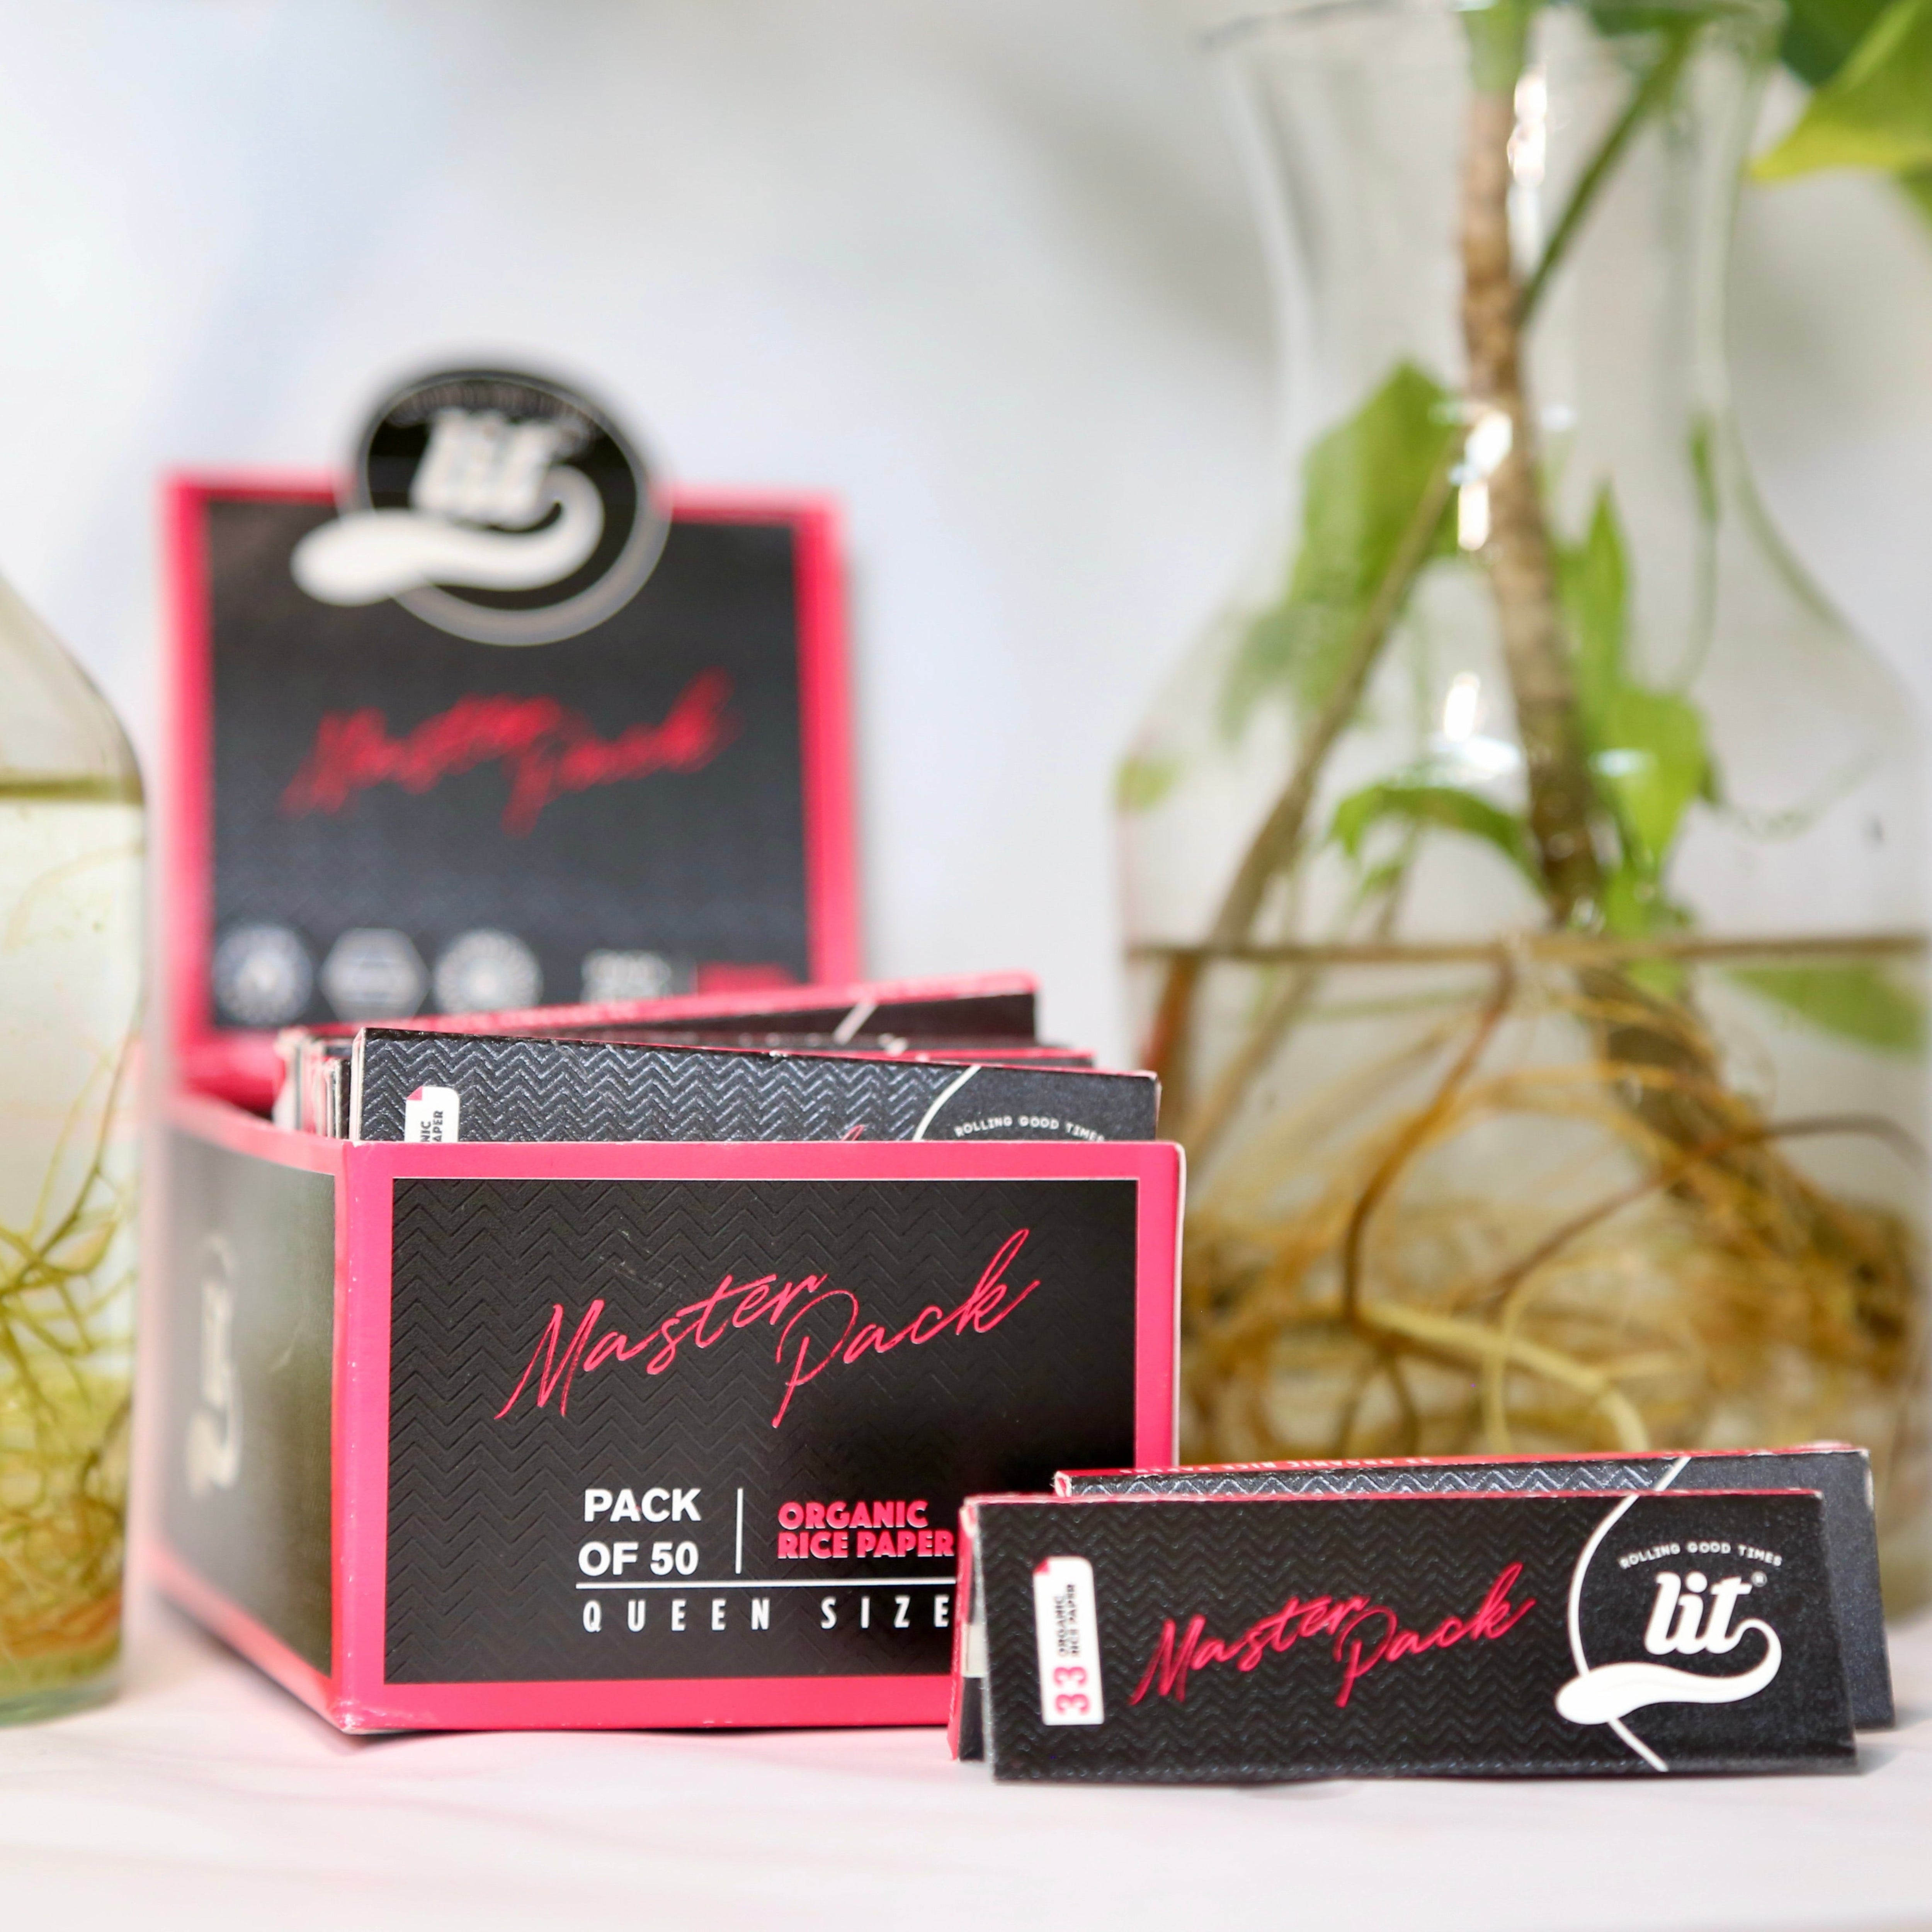
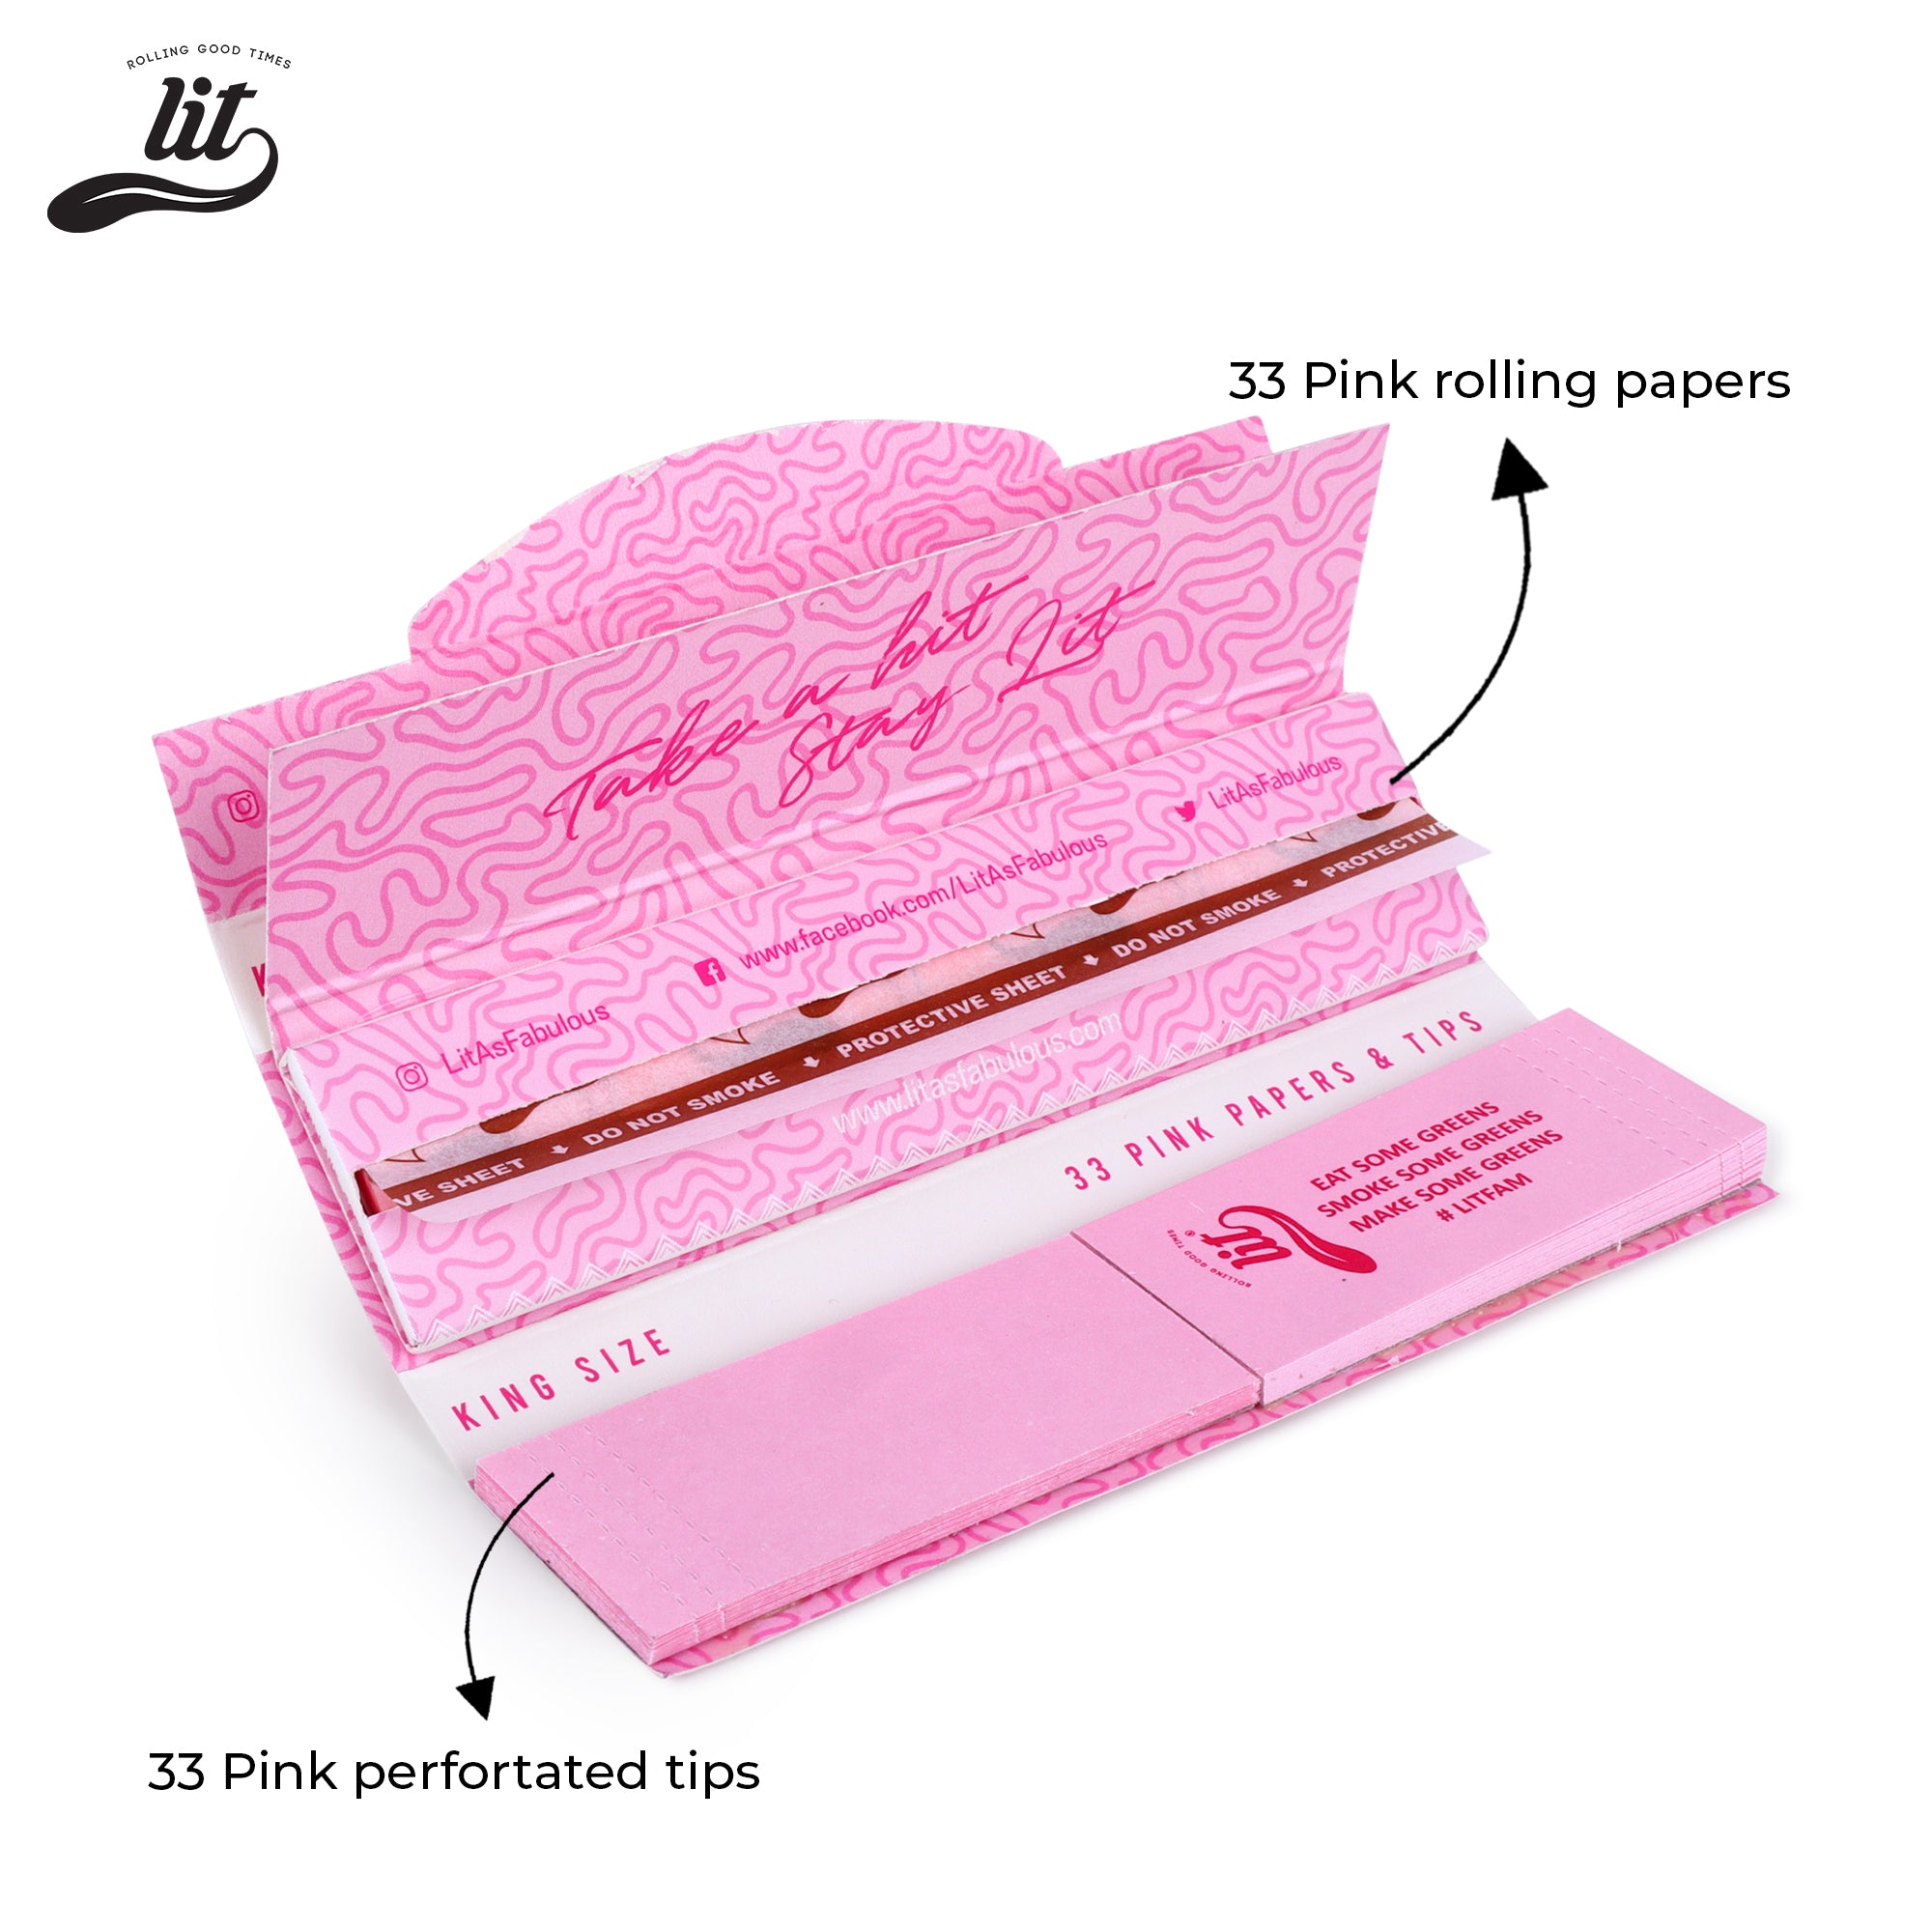
Rolling papers: The medium that carries everything. For a slow, clean burn pick hemp or rice papers from our rolling papers collection. In summer, hemp holds up better - read more in our summer rolling guide.
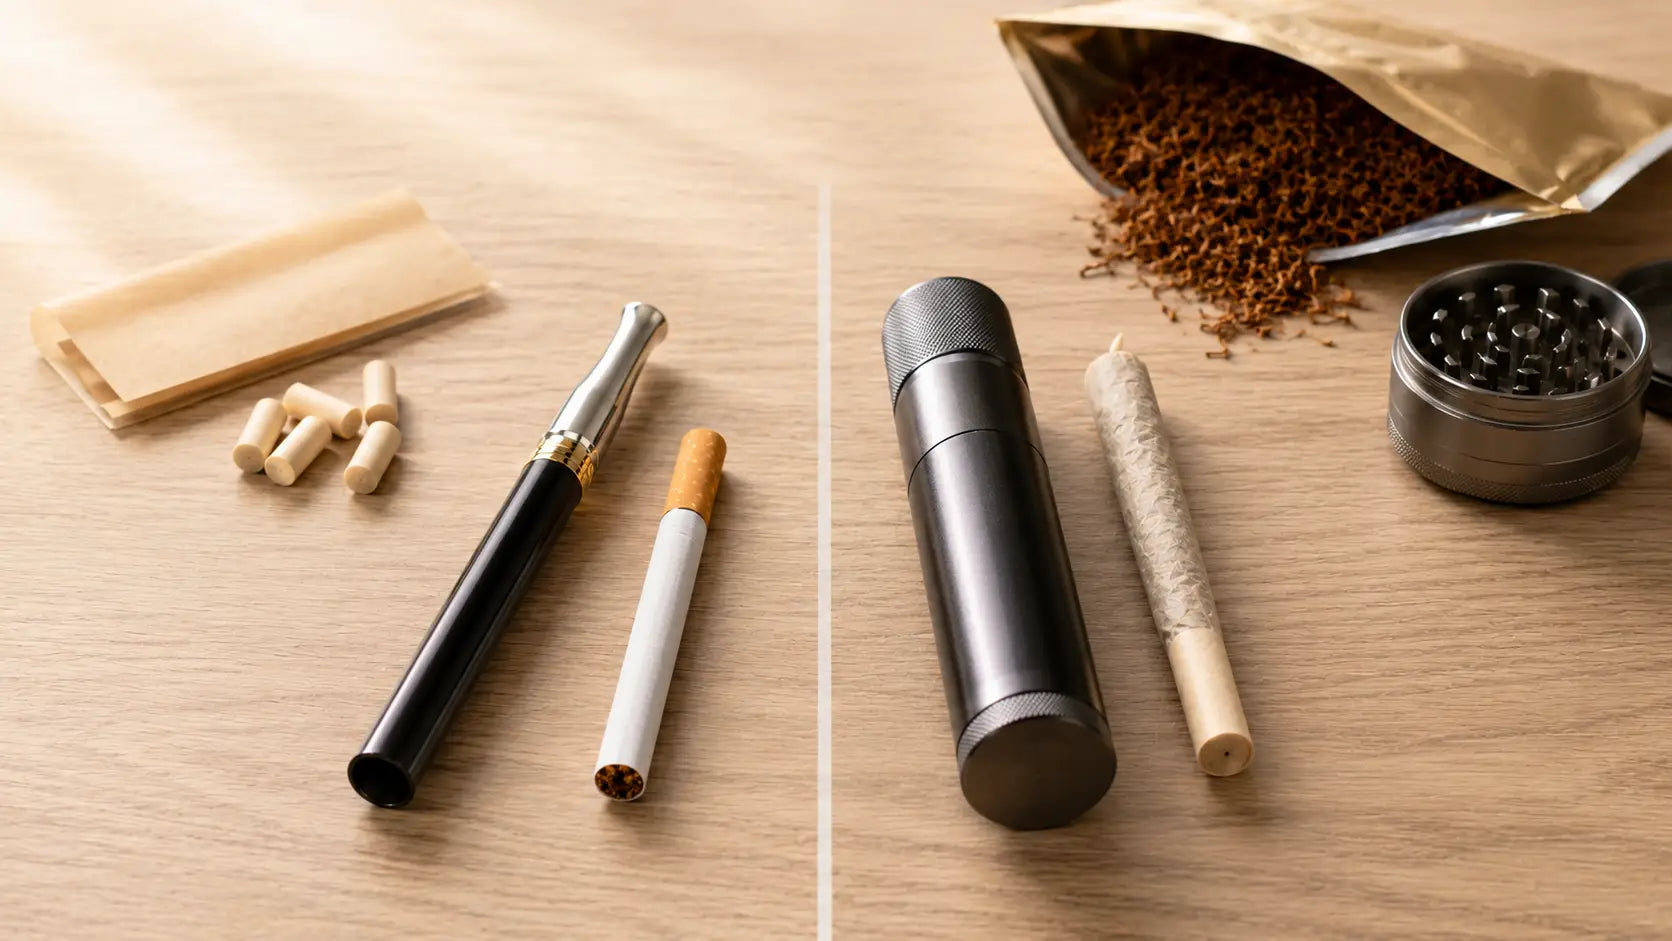
Rolling tips: A tip gives the roll structure and makes it easier to start the tuck. Our rolling tips are cut to size and ready to use straight from the pack.
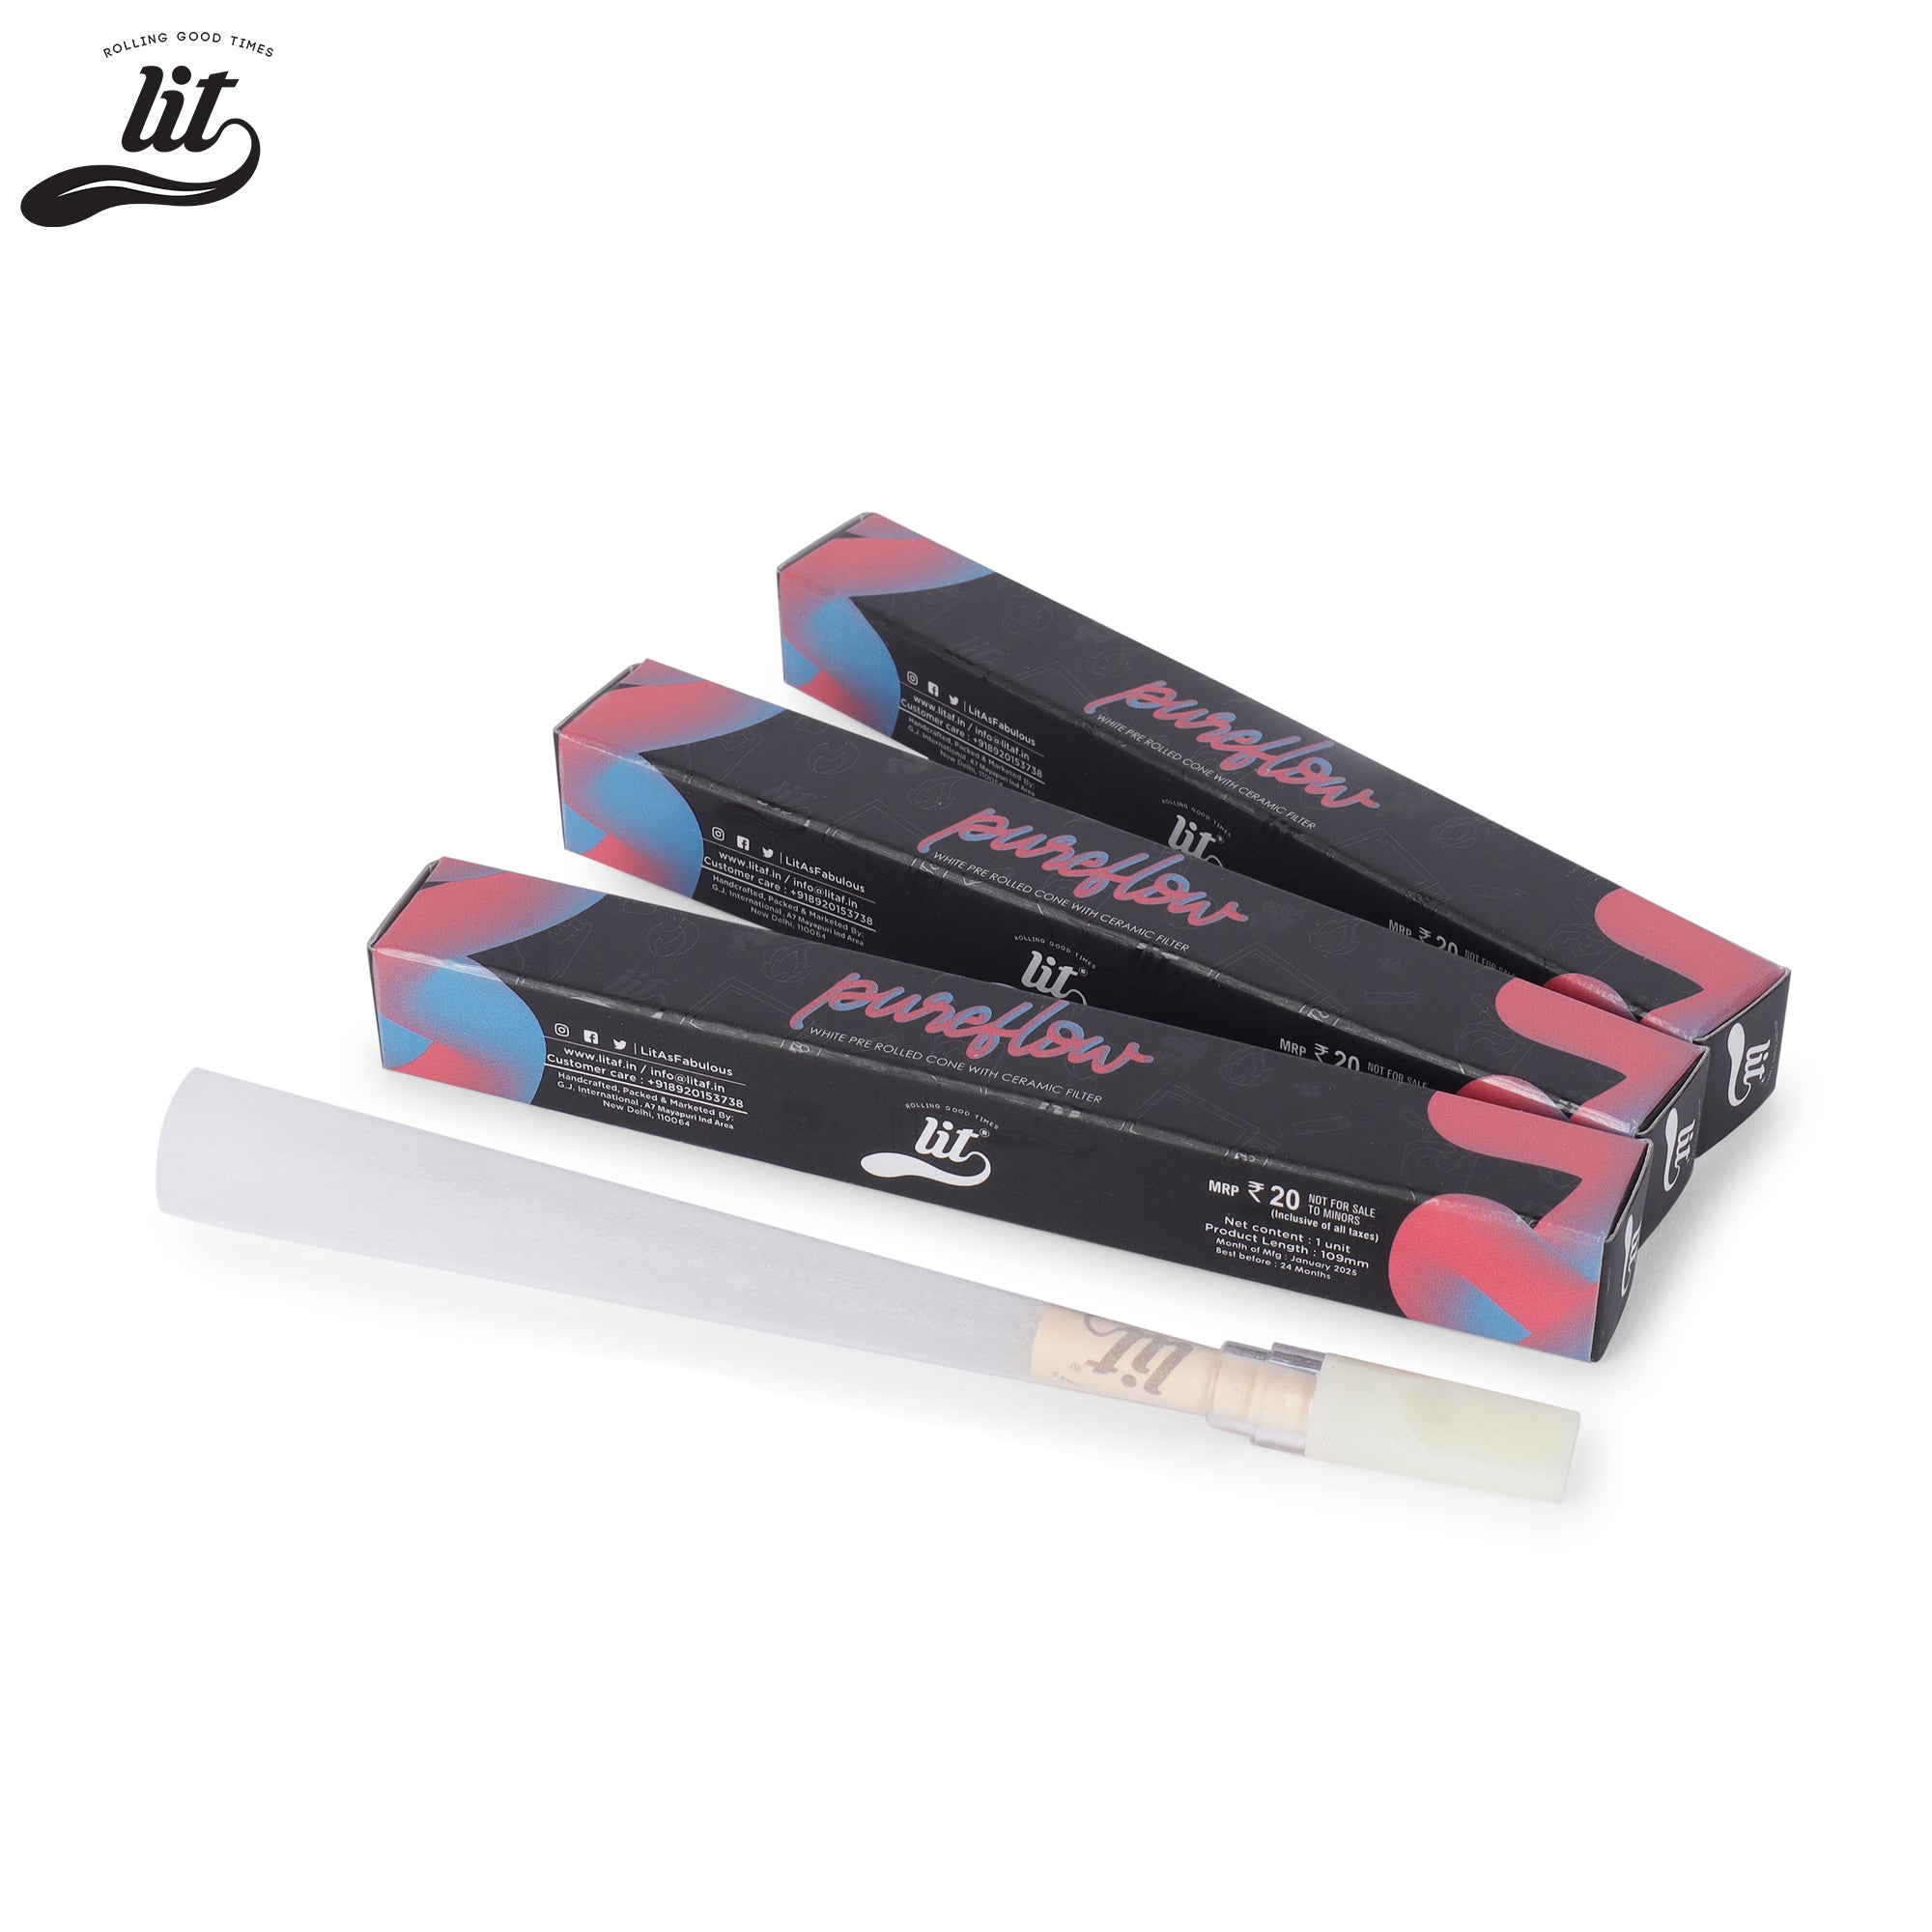
Pre-rolled cones as backup: On days when you want to skip the roll entirely, our pre-roll cones sit nicely on the tray too - fill, pack, and go. The tray makes packing cones tidier as well.
Ashtray: Complete the setup with an ashtray on the tray. Our LIT ashtrays and the Lit × Stubb Pocket Ashtray are compact enough to sit on the tray without crowding the rolling space.
If you want to get your full setup sorted in one go, our packs and combos bundle the essentials together. The LIT Essentials and LIT Gear packs are worth looking at - both include a solid selection of papers and accessories that work together as a complete kit.
A rolling tray is simple to use, but a few habits will make it work better from the start.
Working near the edge of the tray means there's not much surface to tuck and roll against. Always position your paper toward the centre of the tray, using the full surface area for the roll. The raised edges are there to catch things - not to be your rolling boundary.
A tray loaded with too many things becomes a liability. If your lighter, phone, grinder, three booklets of papers, a drink, and your rolling tips are all competing for space, you don't actually have a workspace - you have a pile. Keep the tray to rolling essentials only. Everything else goes off the tray.
Sticky residue, built-up material, and a gunky surface actively make rolling harder. The tray should be wiped after every session - it takes ten seconds. Letting residue build up makes it harder to remove over time and affects how smoothly the paper moves across the surface during rolling.
Too small, and you're always fighting for space and losing material over the edge. Too large, and you're carrying something impractical everywhere. Measure your typical rolling context - desk at home versus bag for travel - before buying. A medium tray handles most situations well, and the Four Fold Tray solves the portability problem without compromising on working surface.
The most common mistake is simply not having one. If you've been rolling without a tray and your sessions have felt rougher or messier than they should, this is the most impactful single change you can make to your setup. More impactful, honestly, than upgrading your papers or your lighter - because it affects every part of the rolling process, not just one.
A rolling tray is a flat, lipped surface designed specifically for rolling joints or cigarettes. The raised edges keep everything contained - herb, papers, tips, and any loose material - so nothing falls onto the floor or gets lost on an uneven surface. It also keeps your rolling area clean and organised, and doubles as a surface for breaking down herb before grinding.
For personal, solo use at home, a small tray (around 7×5 inches) is enough. For regular sessions or if you keep multiple supplies on the tray, a medium tray (around 11×7 inches) gives you more working space. Large trays (13×10 inches and above) are best for group sessions or if you want to keep your entire rolling setup - grinder, papers, tips, and ashtray - in one spot.
Metal rolling trays - typically tin or aluminium - are the better choice for most smokers. They are more durable, easier to clean, don't retain smells, and have a smooth surface that makes rolling easier. Plastic trays scratch easily, retain odour over time, and build up a static charge that makes herb cling to the surface. For regular use, metal is the clear winner.
Yes. Many smokers use their rolling tray as a catching surface while grinding - any material that falls out of the grinder lands on the tray rather than the floor. A tray with a flat surface and raised edges is ideal for this. Some trays, like the LIT Crushing Tray, are specifically designed with a surface suited for breaking down and collecting herb.
Absolutely. A rolling tray is not a luxury upgrade - it's a functional tool that makes every part of the rolling process easier and cleaner. Even with the best grinder and papers in India, rolling on an uneven, uncontained surface wastes material and makes rolling harder. A tray brings everything together in one controlled workspace.
Wipe down with a dry cloth after each session to remove loose material. For a deeper clean, use a damp cloth with a tiny drop of dish soap, wipe thoroughly, and dry immediately. Avoid soaking a metal tray in water for long periods. For stubborn residue in the corners, a cotton swab dipped in isopropyl alcohol - the same you'd use when cleaning your grinder - works very well.
A rolling tray is one of those things where the difference is immediate and obvious the first time you use one. Sessions are cleaner, rolls are easier, nothing gets lost, and your setup looks and feels like it belongs together rather than scattered across whatever surfaces were nearby.
It's the upgrade most smokers in India haven't made yet - which means it's also the one with the biggest visible payoff. Whether you go for the LIT Crushing Tray for daily home sessions or the LIT Four Fold Tray for a setup that moves with you, the investment is small and the return is every session from here on.
Get the tray. Roll better. Stay LIT.